
Zapier
The Zapier connector is not usable today. What is actually wired, why your Zap will not fire, and what to use instead.
Do not build on this yet. The Zapier connector is not finished, and a Zap you set up by following the steps below will never receive anything. Use webhooks instead, which do the same job and work today.
What Is Actually Wired
Being specific, because "coming soon" would understate how far along it looks:
| Piece | State |
|---|---|
| The Integrations card | Renders only behind a feature flag, so most workspaces never see it |
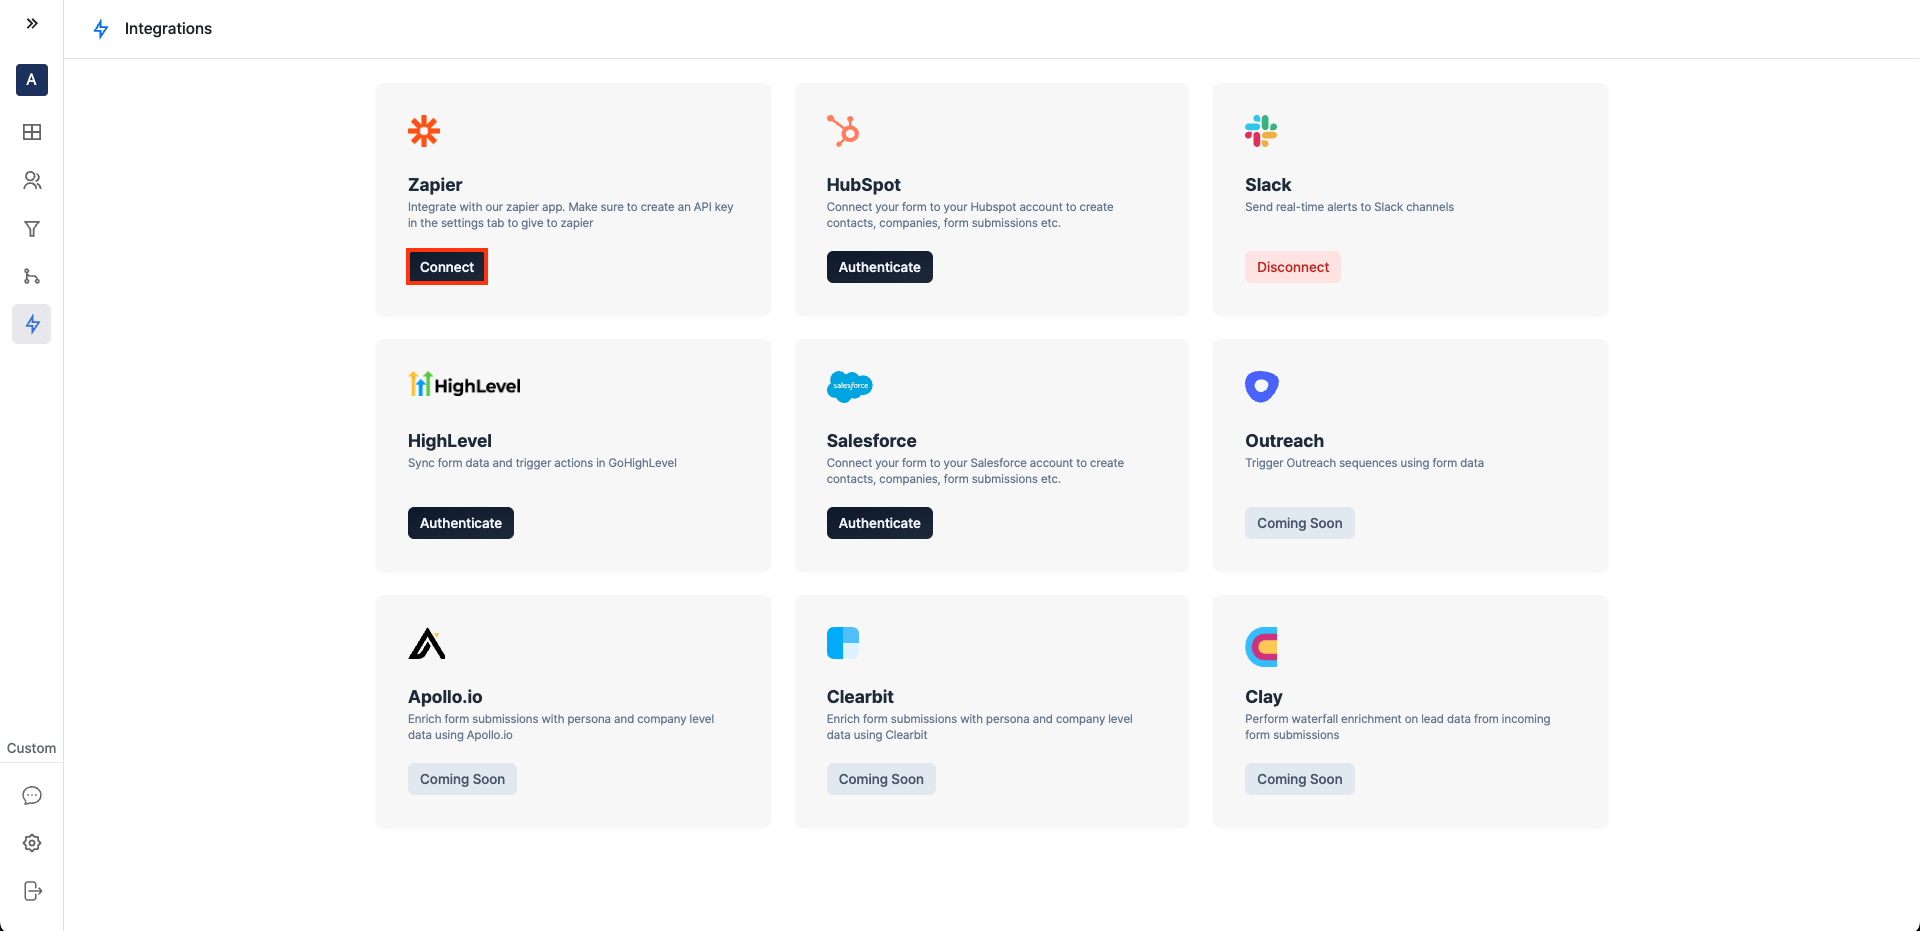
| Connect | An external Zapier public-invite link. There is no Surface-side authentication step behind it |
POST /api/v1/zapier/subscribe | Real. It stores your Zap's hook URL against the form |
| Anything that sends to that hook URL | Missing. Nothing in Surface reads the stored URL, so no event is ever delivered |
| The Zapier Notification workflow action | Exists in the Workflow Builder, and has no handler. Adding one to a workflow silently does nothing |
So a Zap can be created, subscribed and left waiting forever. That is the failure mode this page exists to prevent.
Use Webhooks Instead
Webhooks post form submissions and lead changes to any endpoint you own, including a Zapier Catch Hook trigger. That gets you the same result through a path that is finished and supported.
For everything beyond notification, Surface MCP gives an agent 132 tools over the workspace directly.
The Original Walkthrough
Kept for reference and for anyone who already set this up. It describes the intended flow, not a working one.
1. Connect Zapier
You need a Zapier account. In the Surface app, open the Integrations tab and connect Zapier.
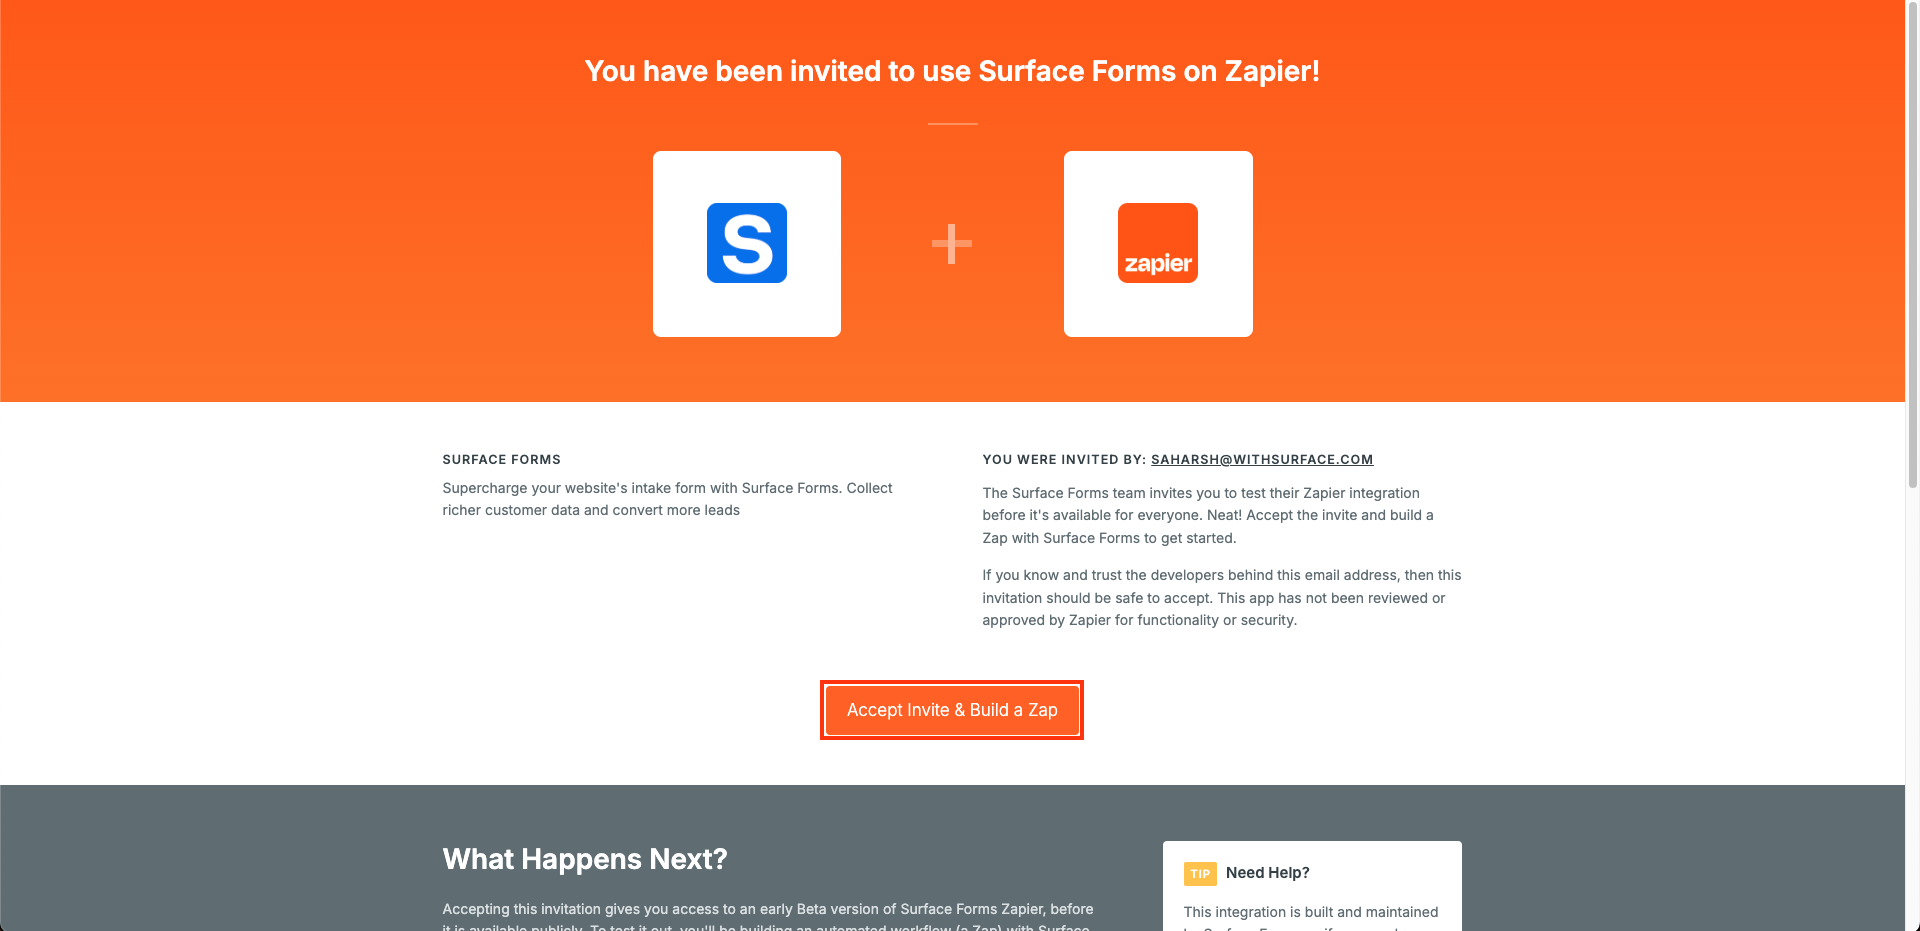
Accept the invitation to get started.
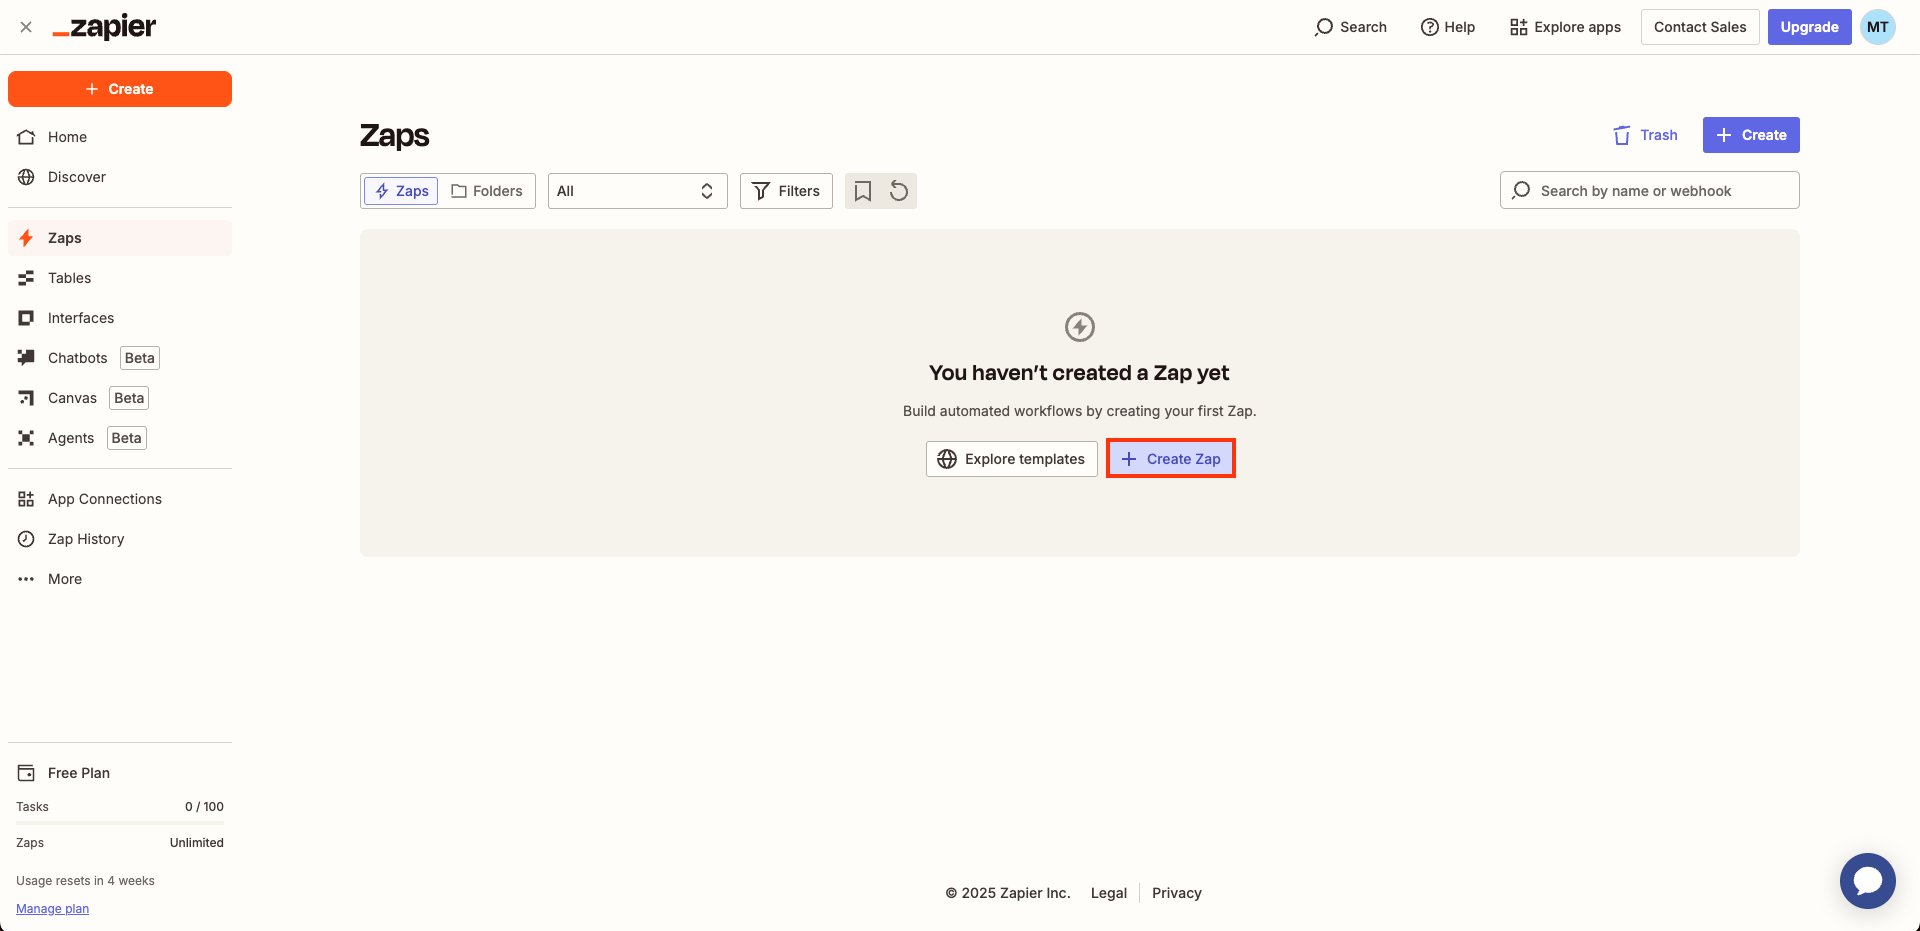
2. Create a New Zap
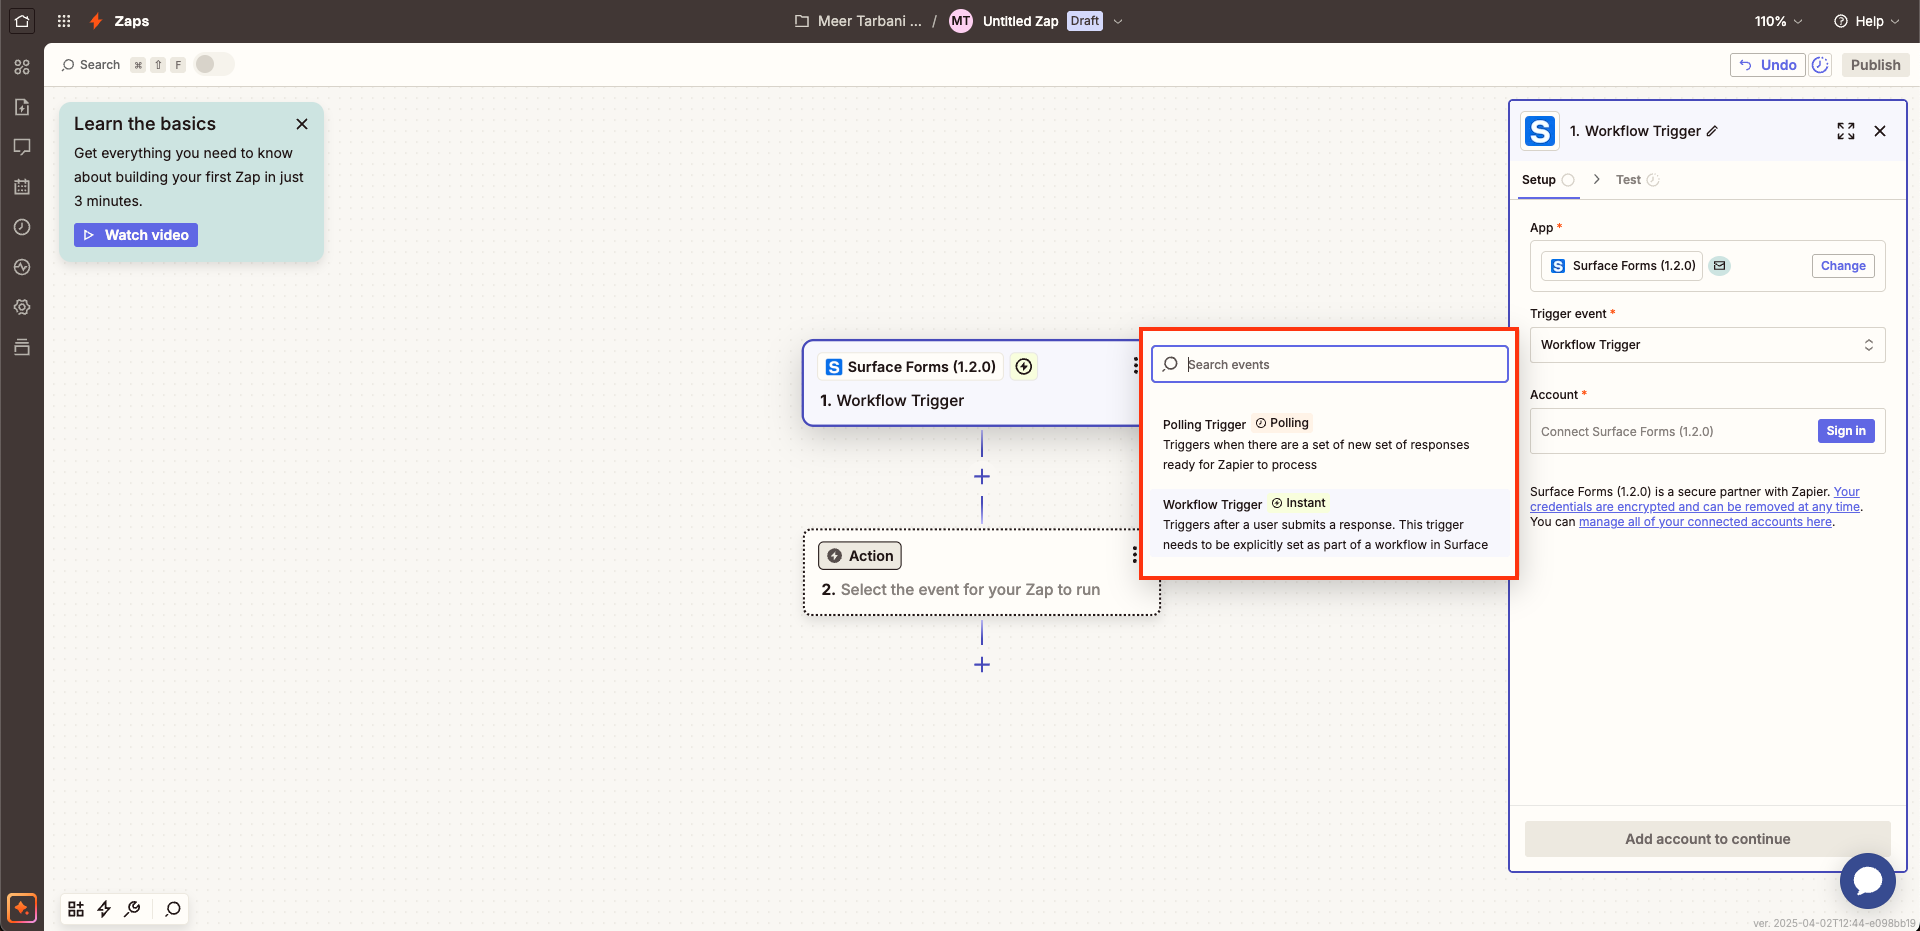
Create a new Zap and search for Surface Forms.
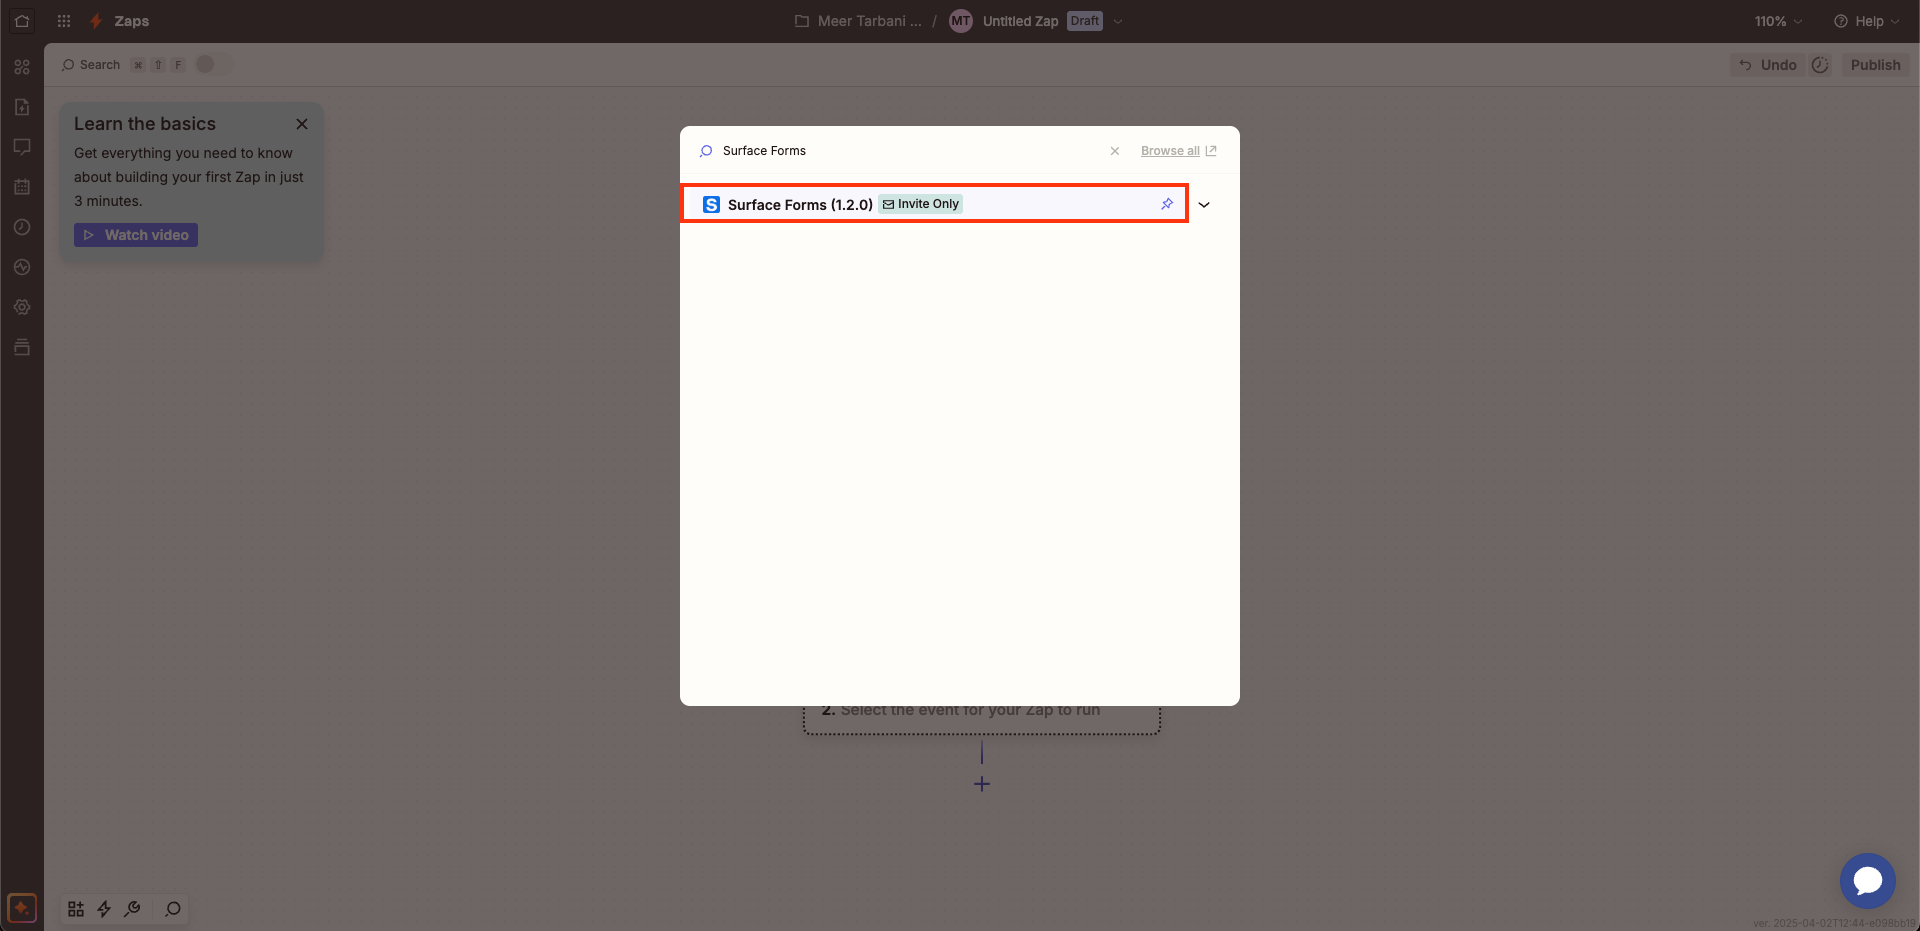
Select the latest version of Surface Forms as the trigger.
Choose a trigger event for the Zap.
3. Connect a Surface Account
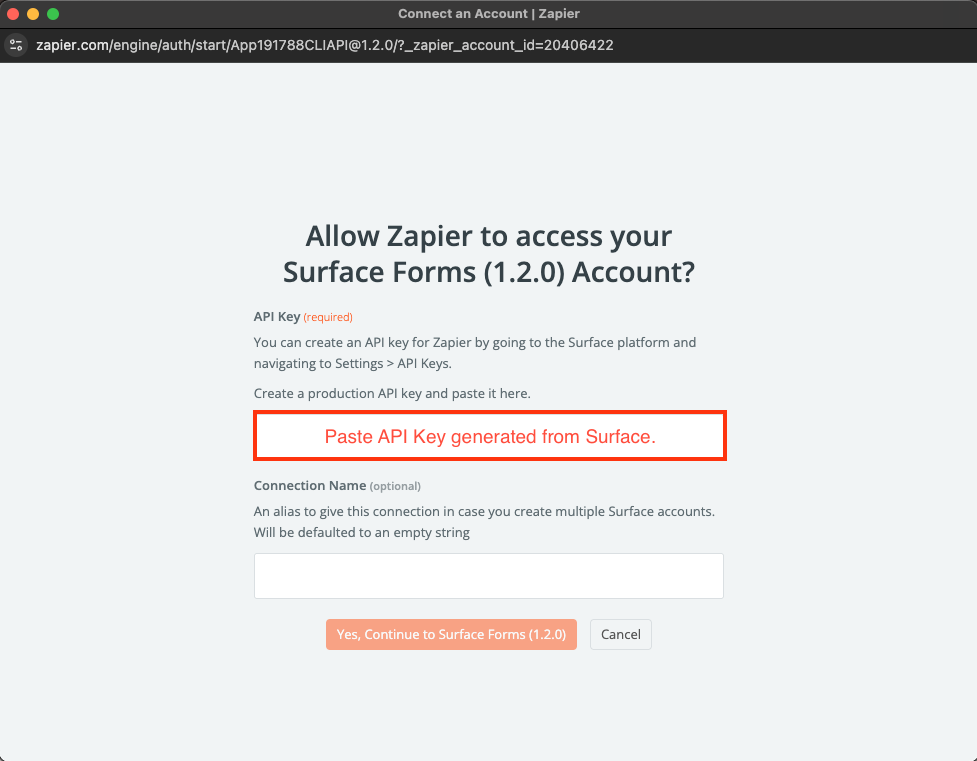
Under Account, click on Sign In and connect your account. You should see the following screen:
4. Create an API Key
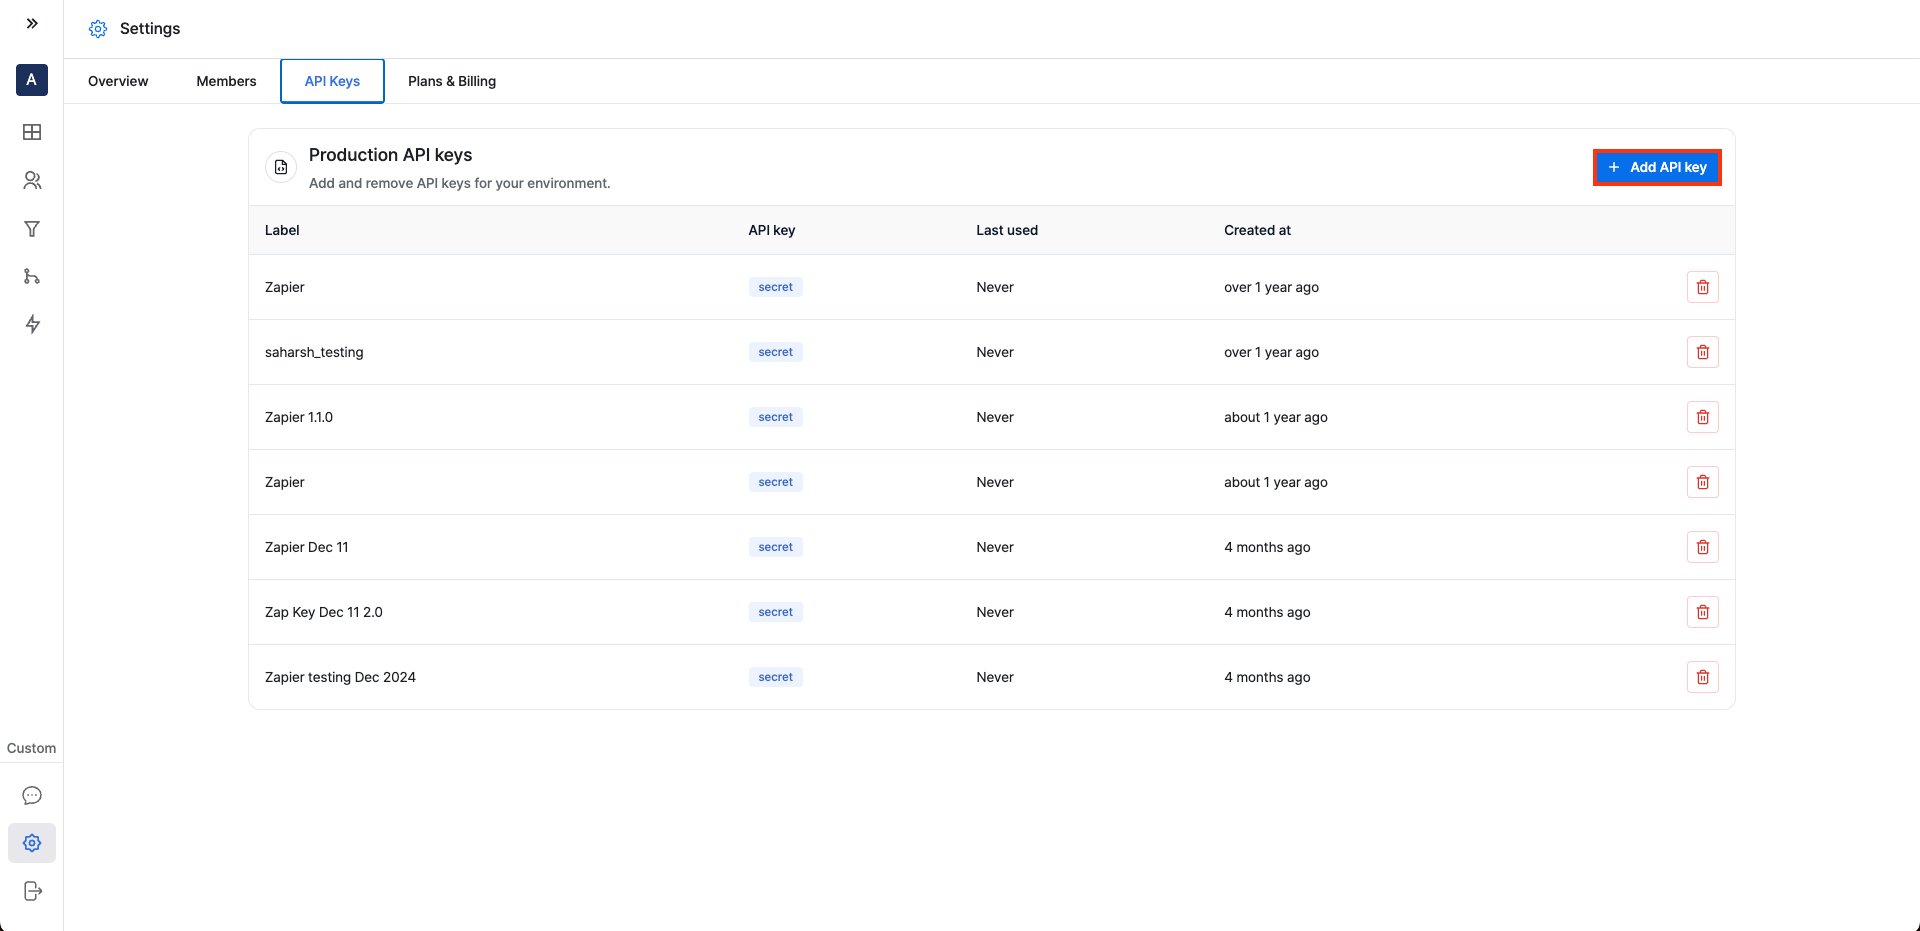
In the Surface app, go to Settings > API Keys > + Add API Key and add a new Production Key (any label will do).
Copy the API Key and paste it into the API Key field from Step 3.
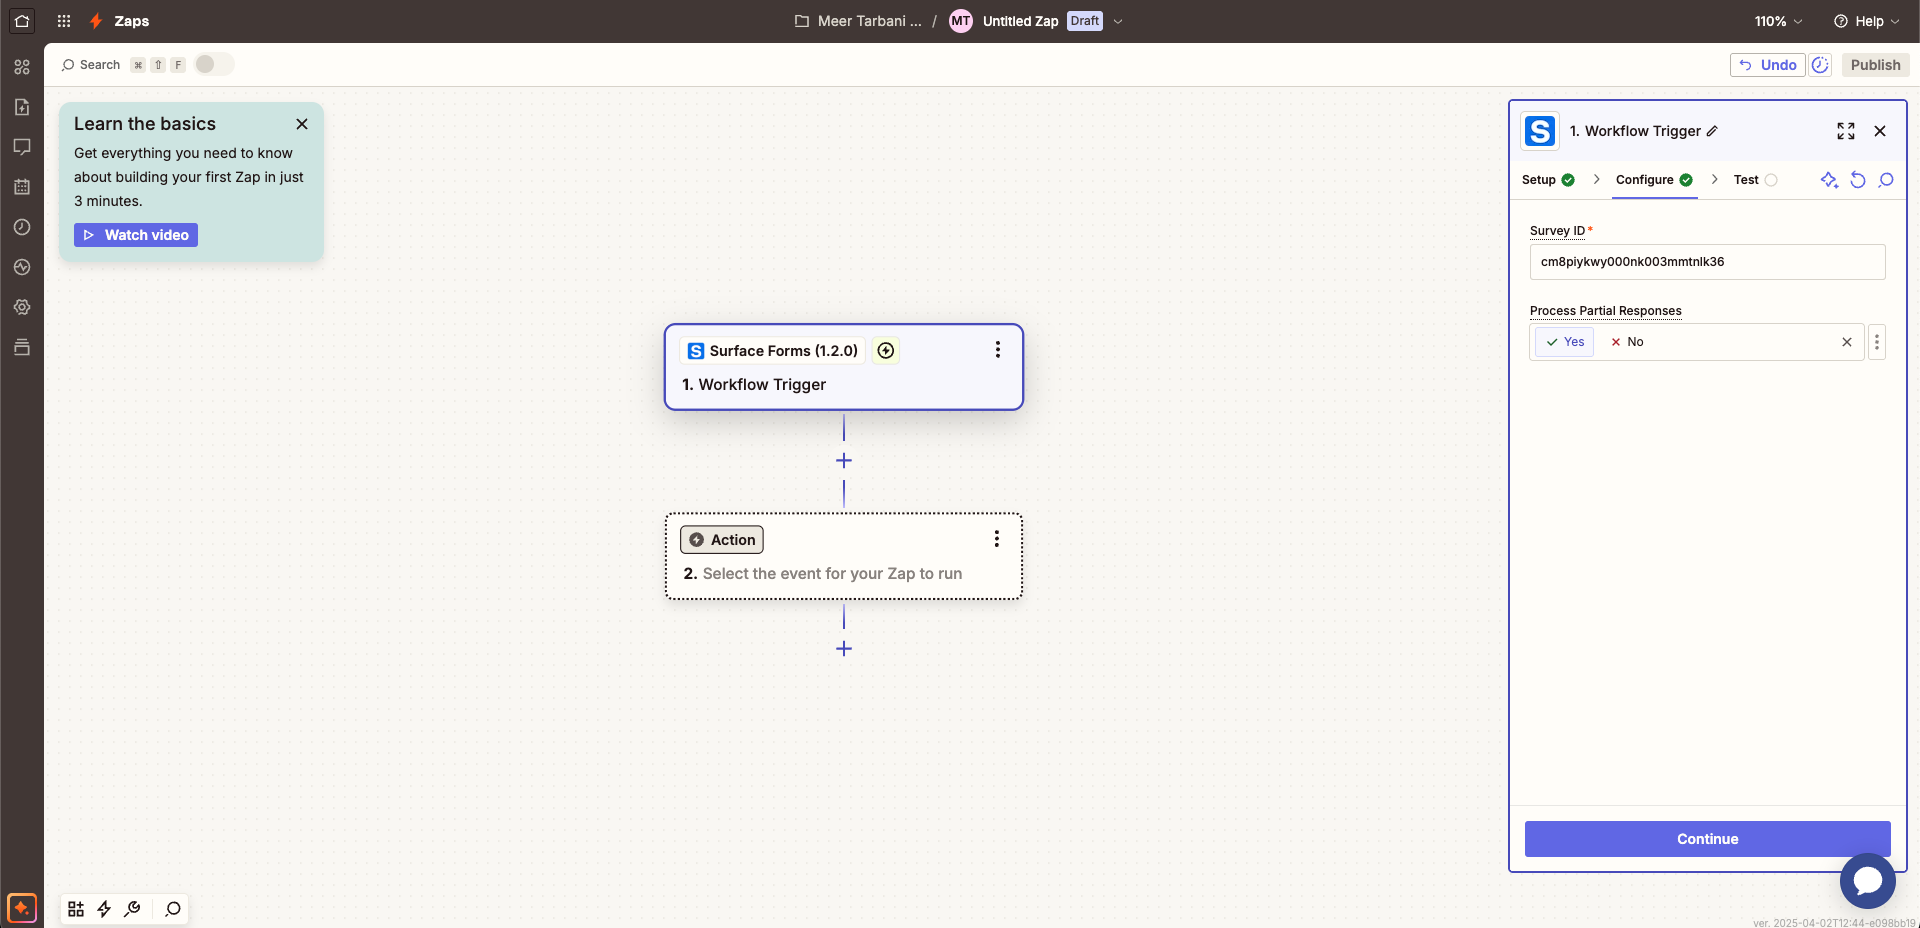
5. Add the Form ID to Zapier
To find the Form ID, navigate to the form in the Surface app and click on the share icon (to the left of the Edit button). The value that appears after https://forms.withsurface.com/s/... is the Form ID.
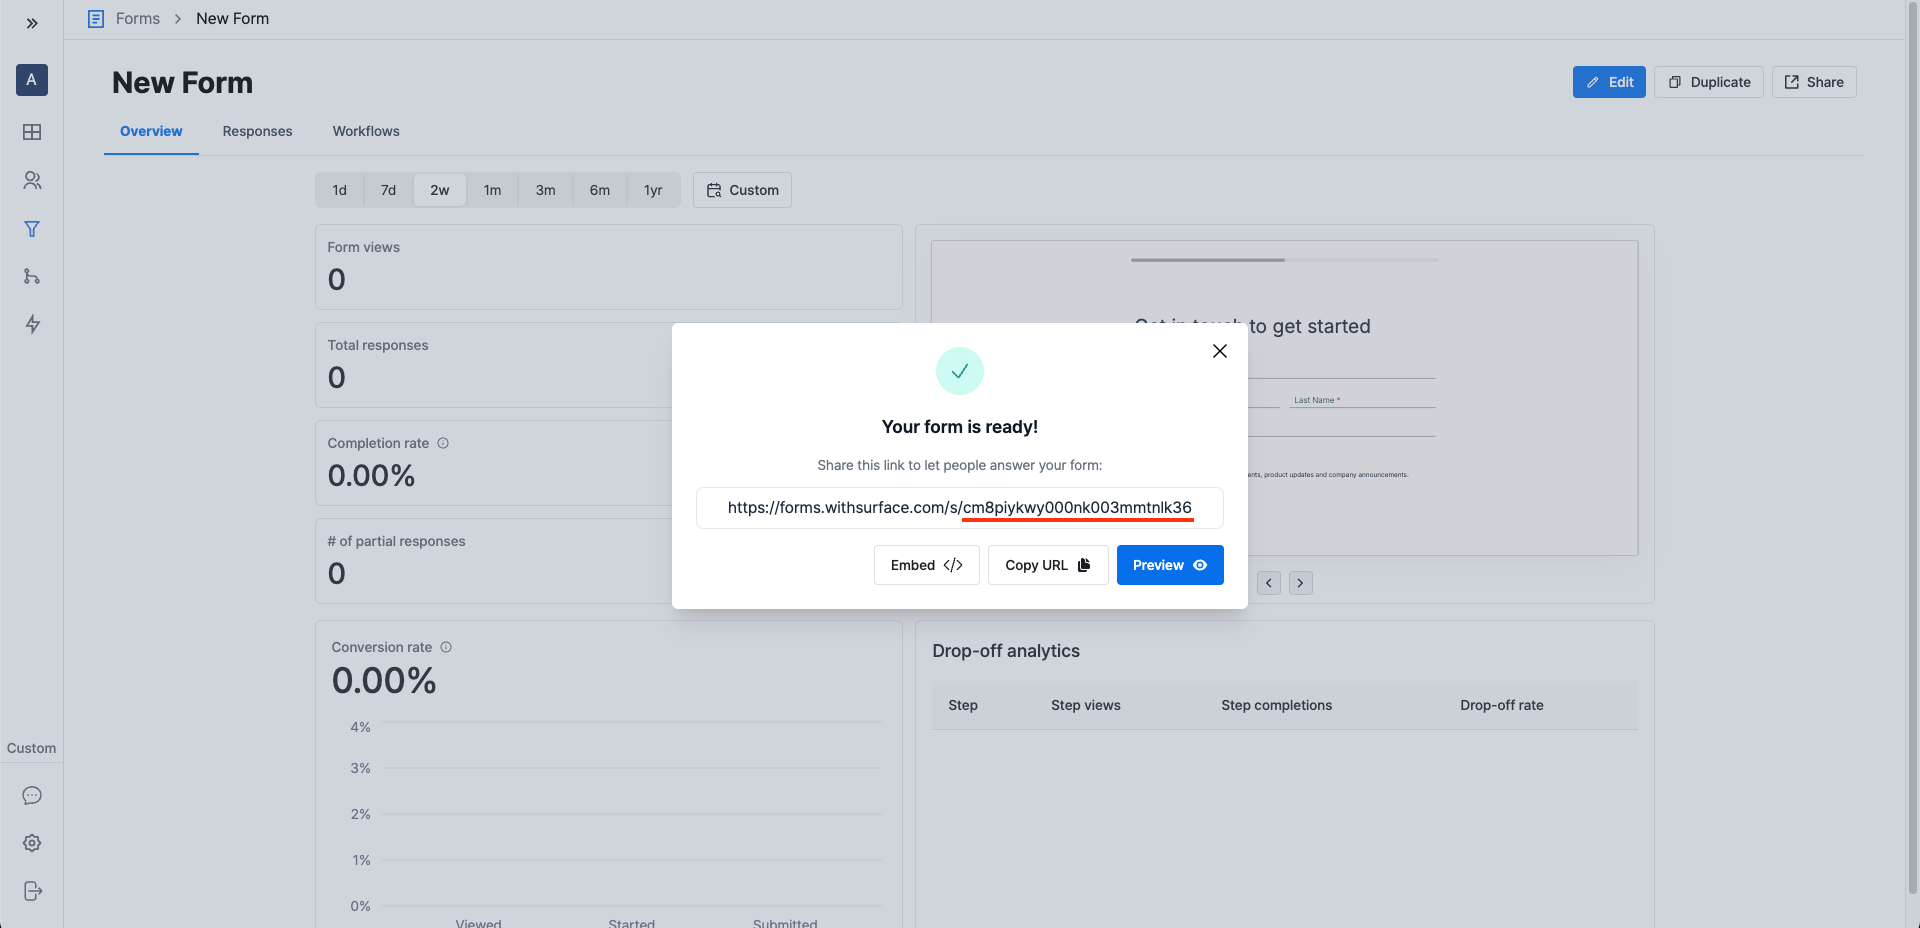
Paste this value into the Form ID field in the Zapier Trigger tab.
For "Process Partial Responses," select either Yes or No depending on whether you want to trigger the Zap on partial form responses.
6. Test the Trigger
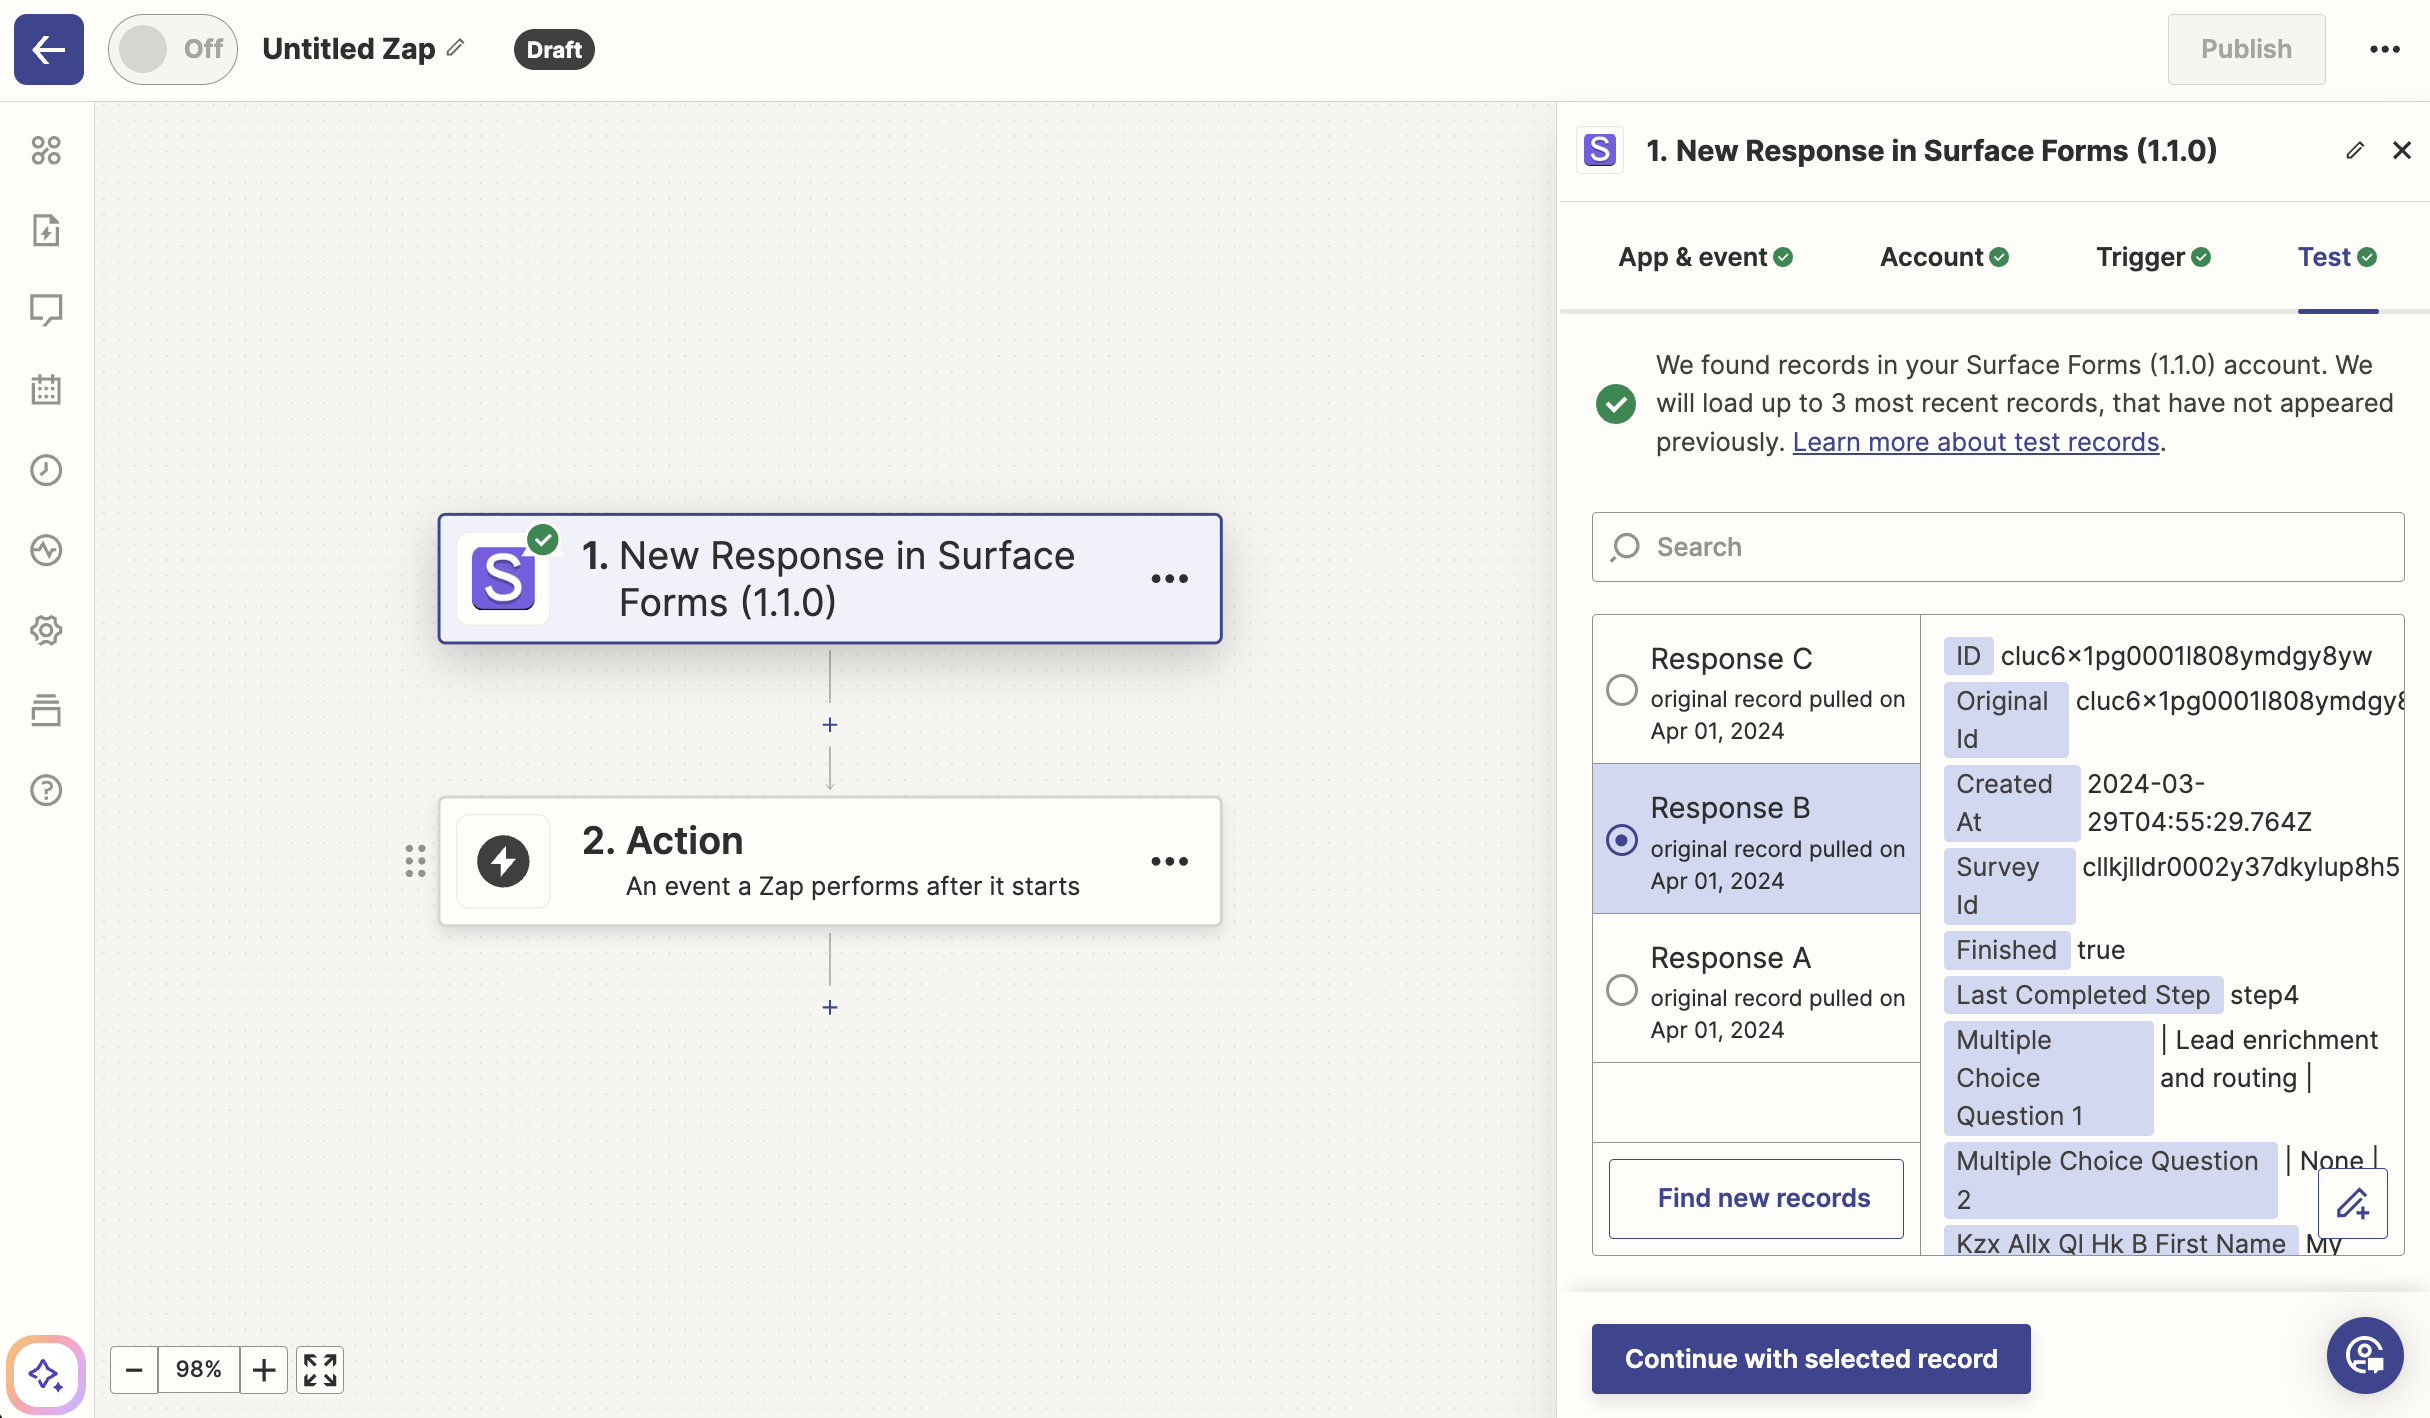
Test the trigger to ensure you can view Surface form responses.
7. Connect an Action
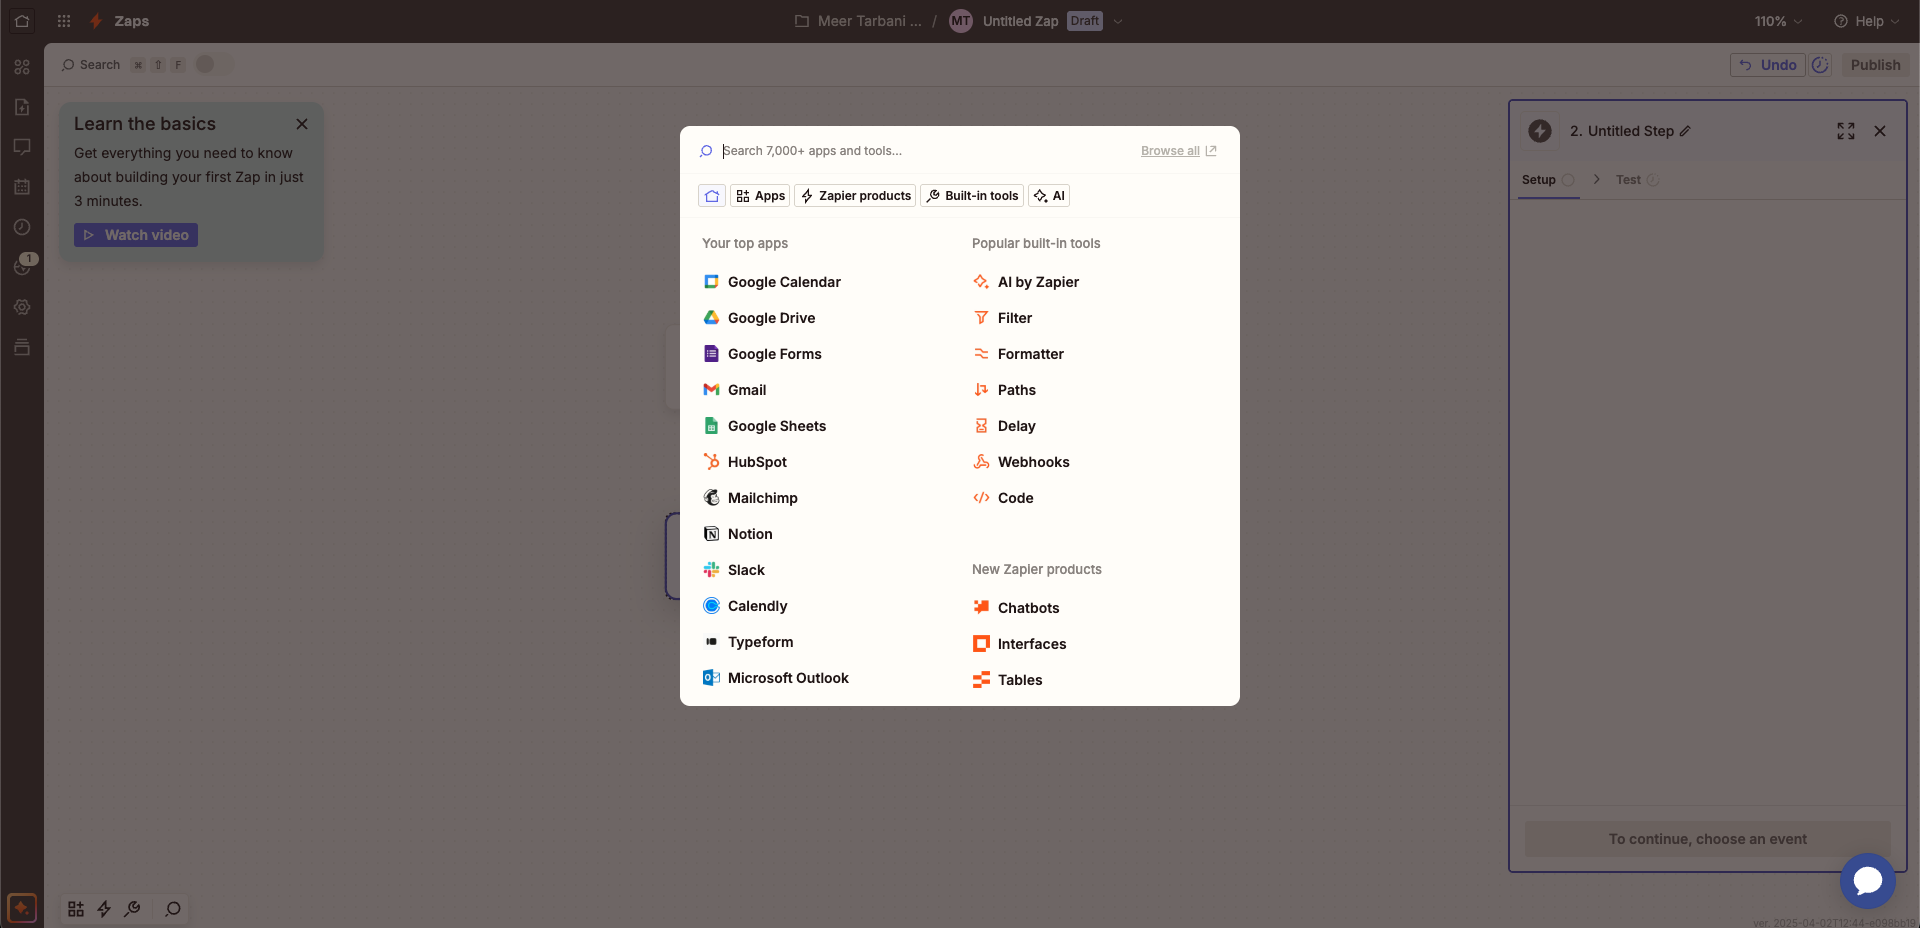
Connect an action to complete the setup.
Ready to Get Started?
See it on your own site, or open the app and build the first form.