# Zapier
### 1. Connect Zapier [#1-connect-zapier]
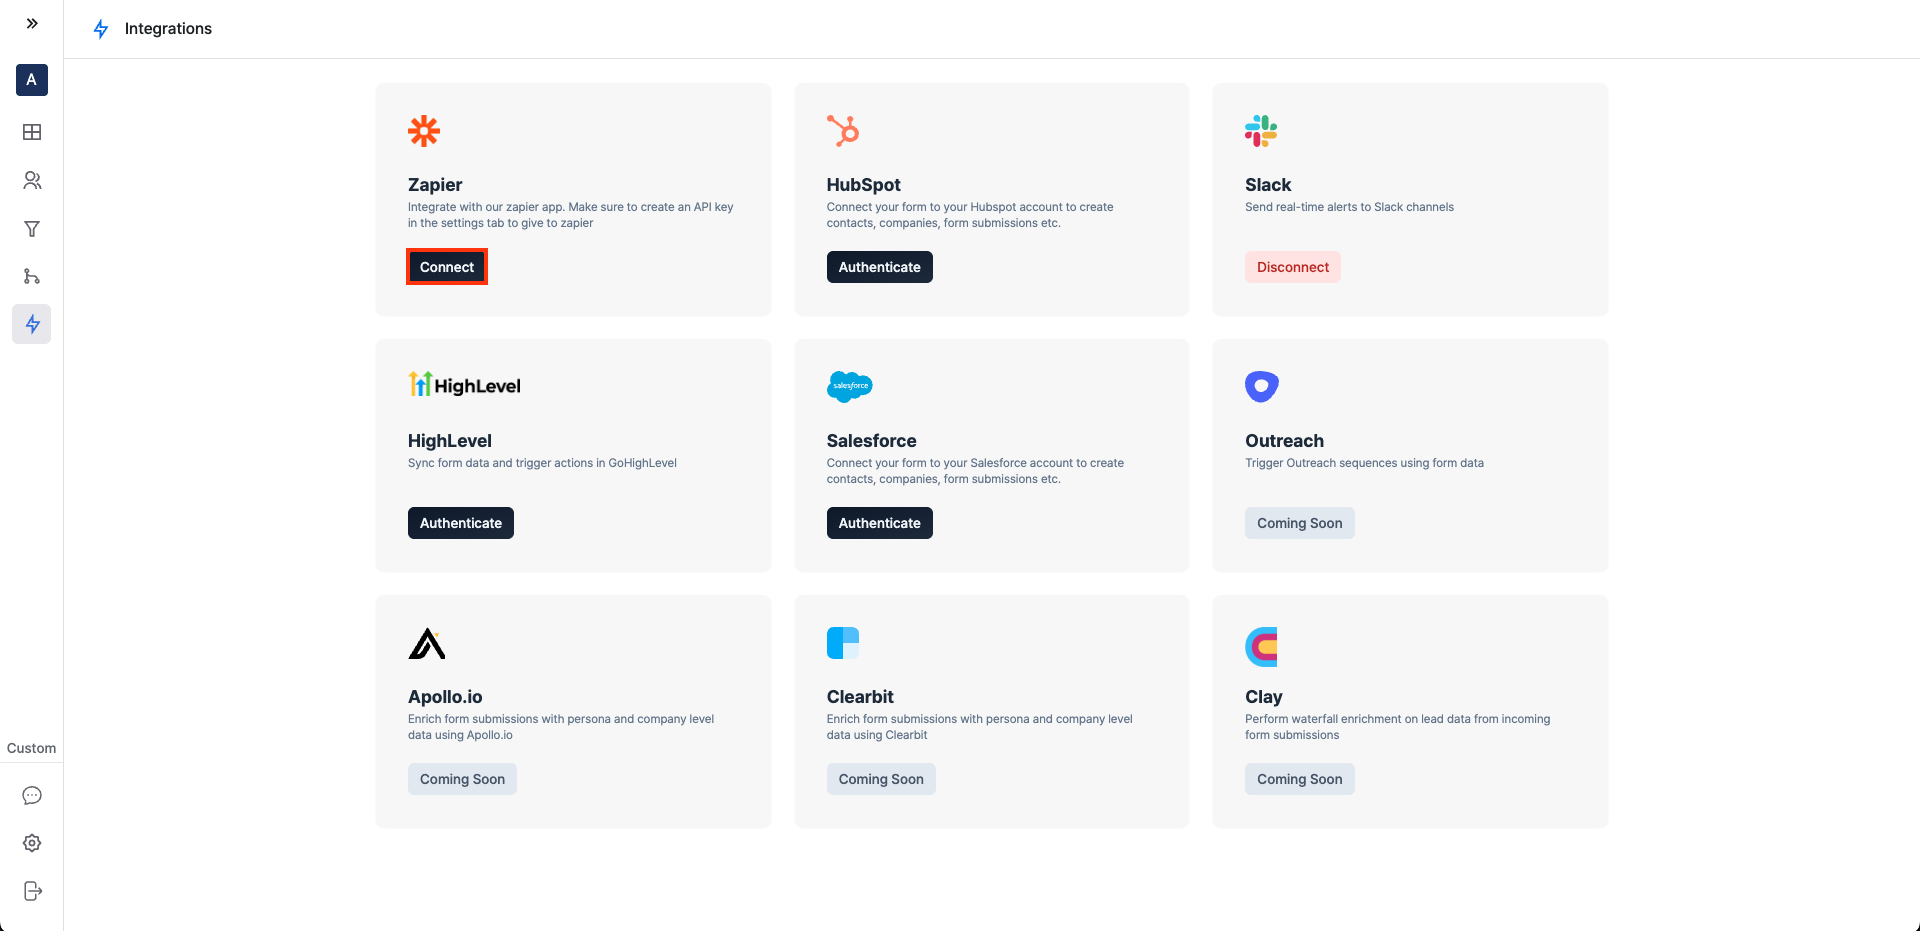
Navigate to the **Integrations** tab in the Surface App and connect Zapier. Ensure you have a Zapier account.
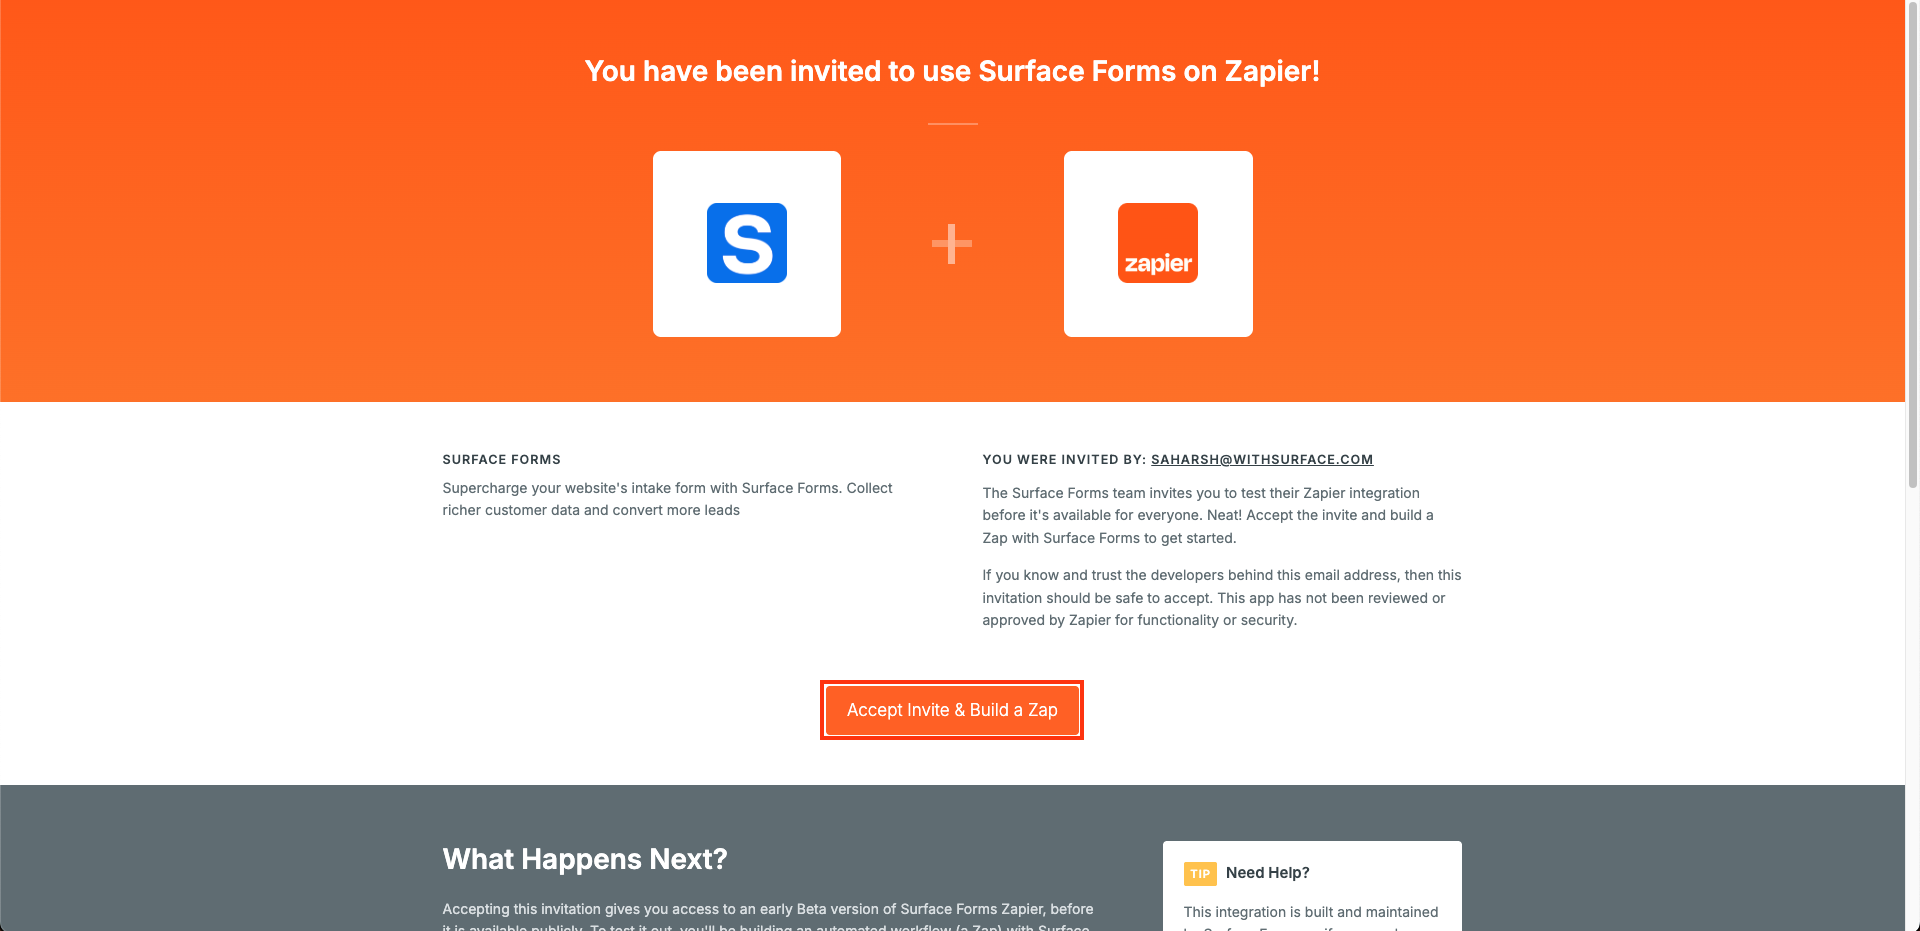
 Accept the invitation to get started.
 ### 2. Create a New Zap [#2-create-a-new-zap]
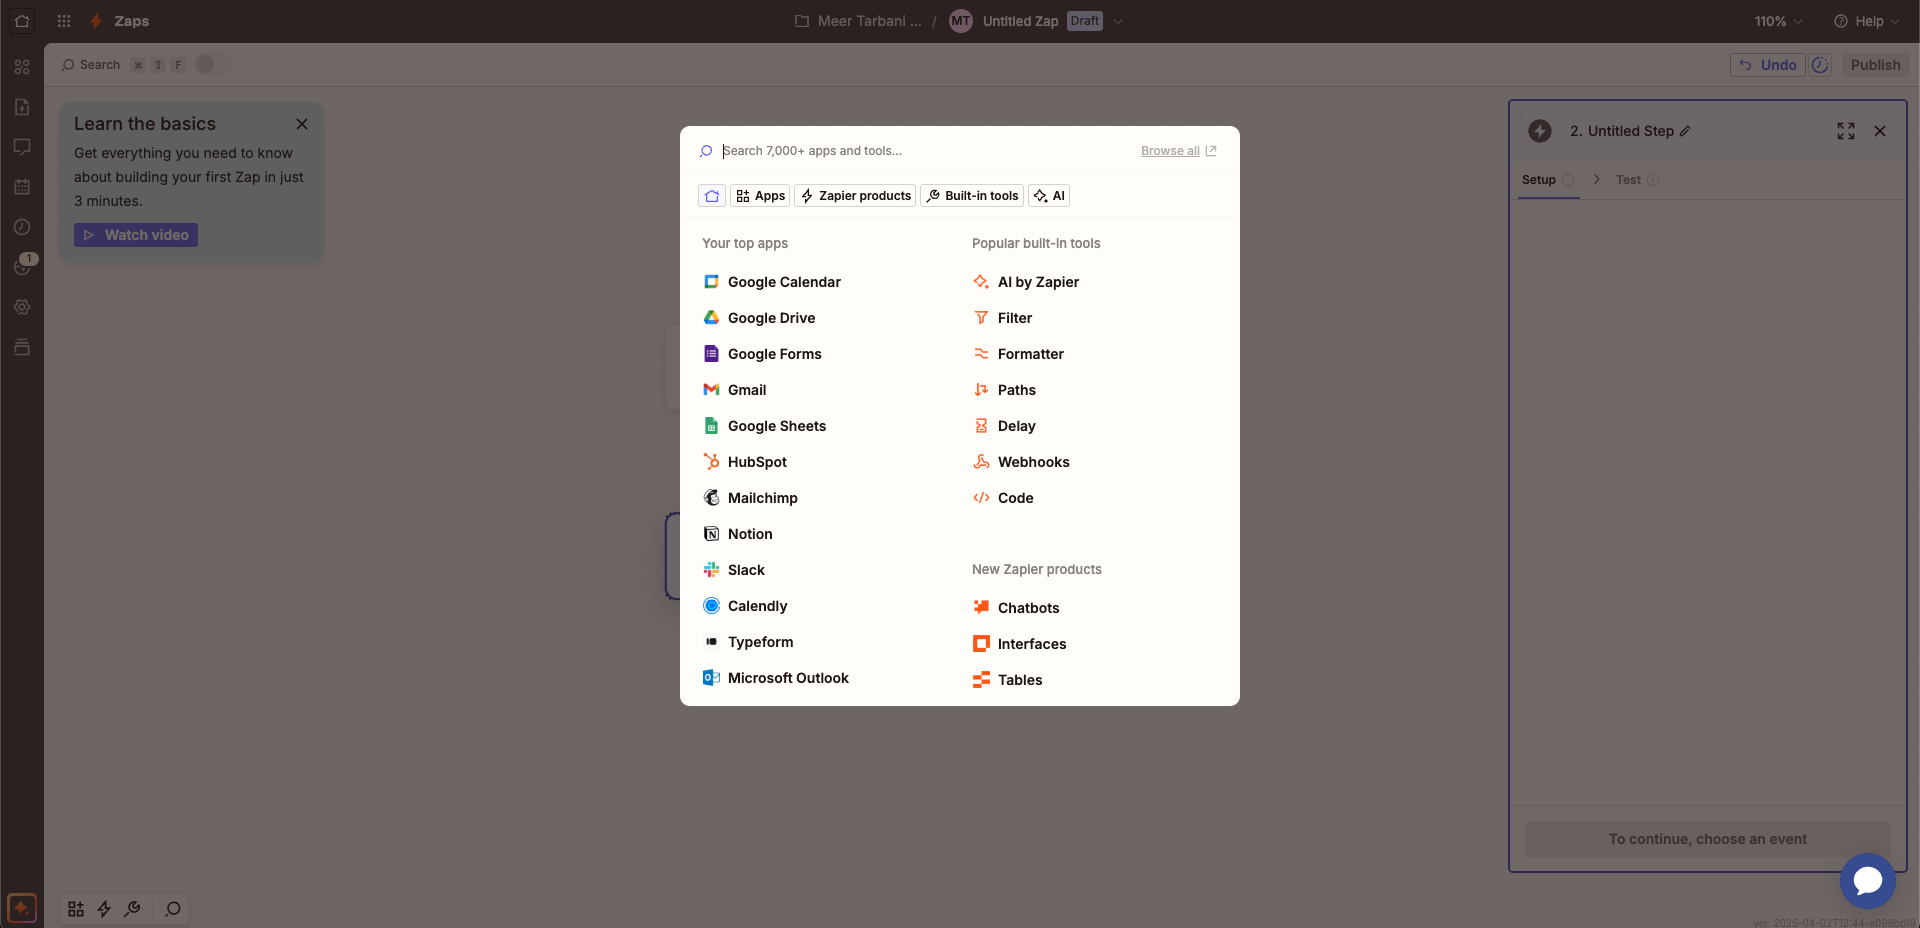
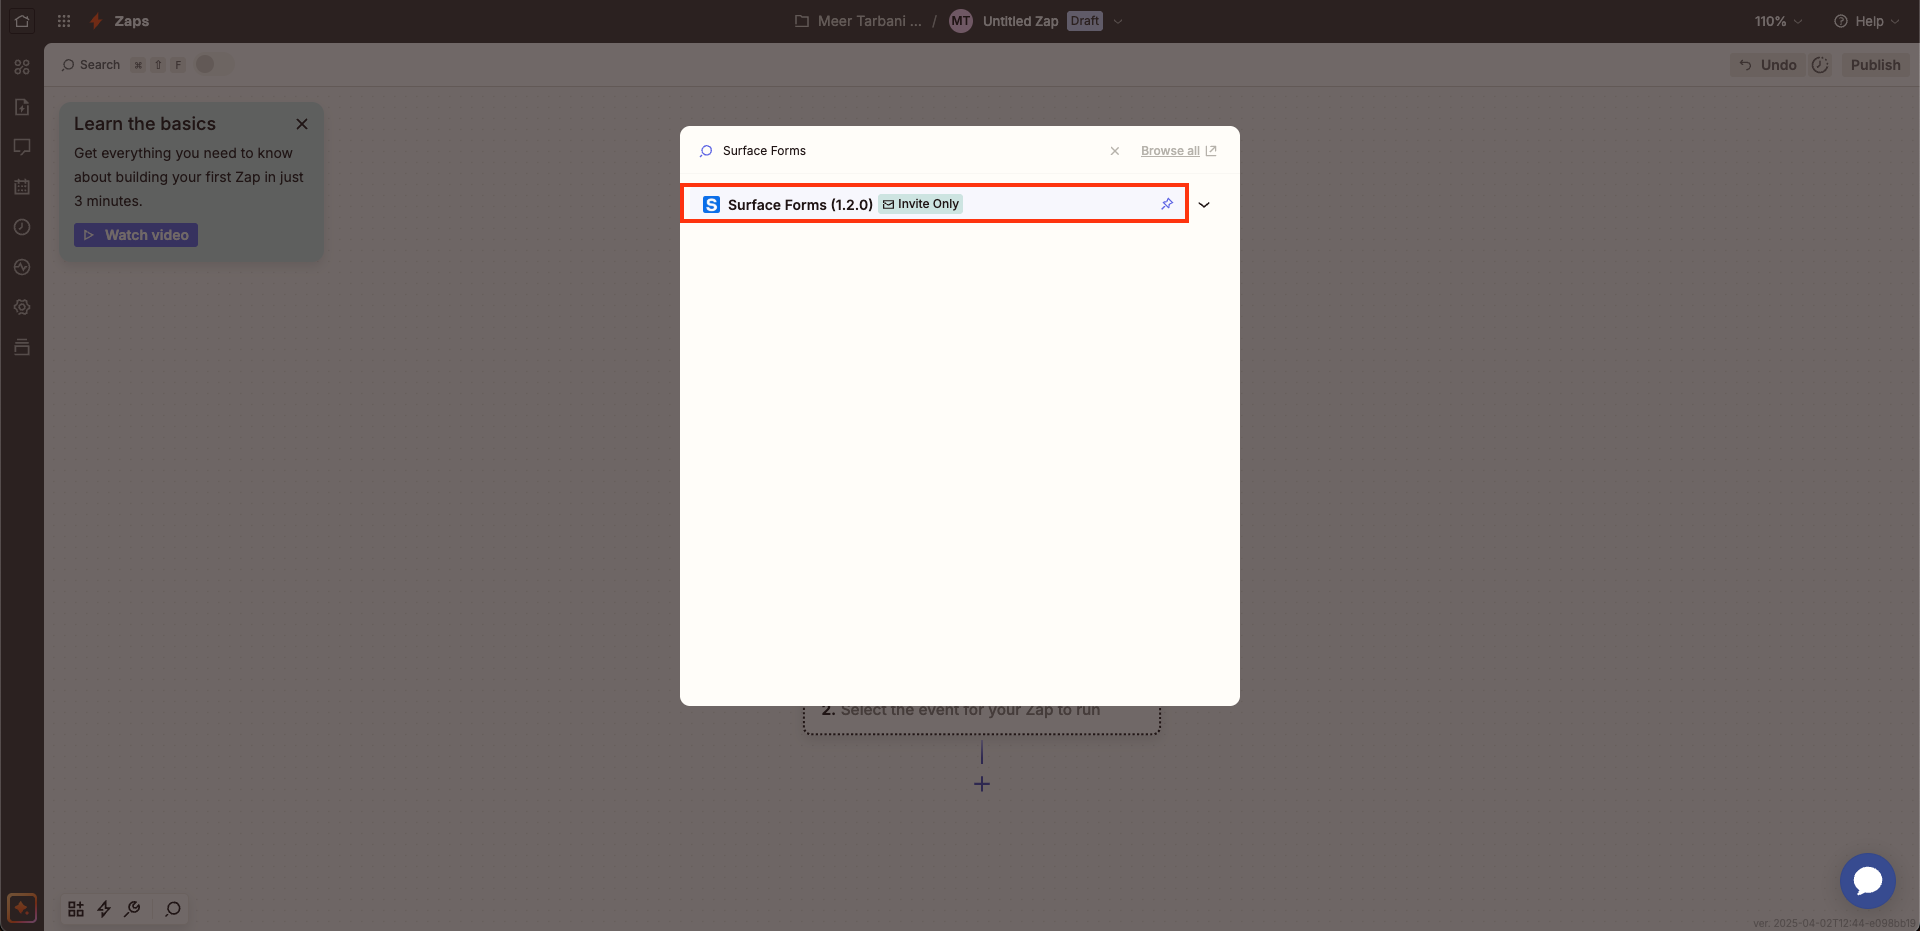
Create a new Zap and search for **Surface Forms**.
### 2. Create a New Zap [#2-create-a-new-zap]
Create a new Zap and search for **Surface Forms**.
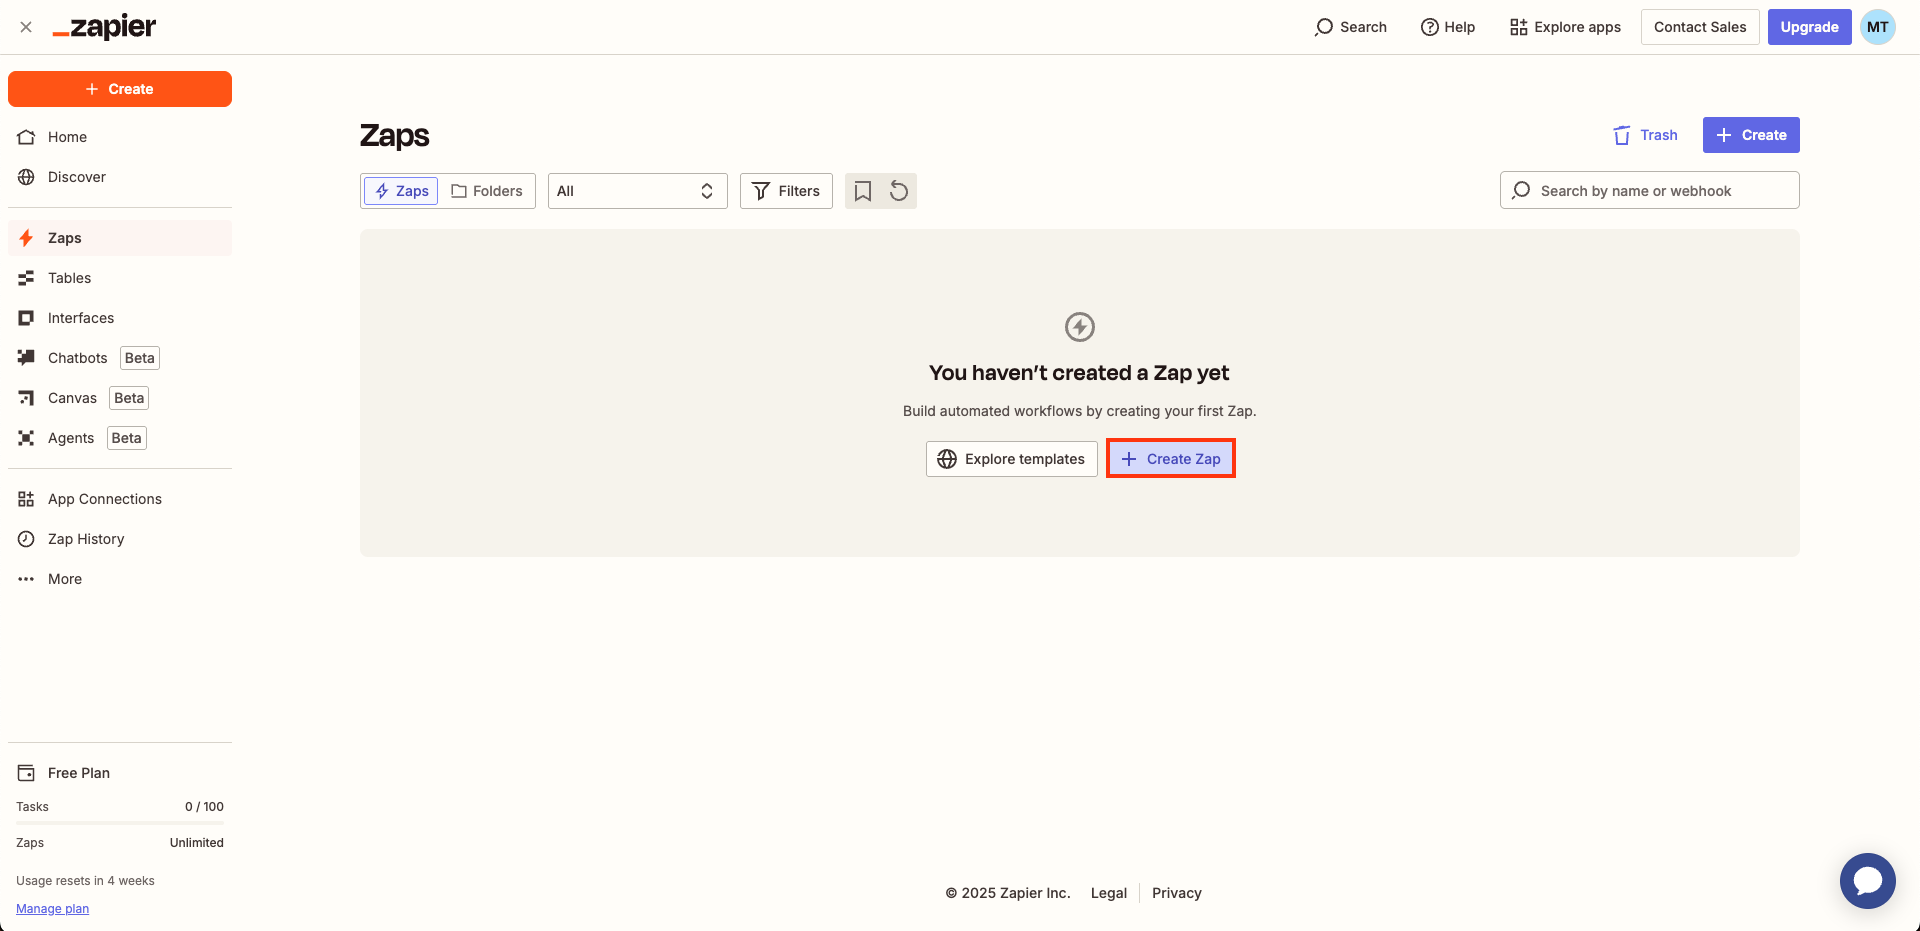 Select the latest version of Surface Forms as the trigger.
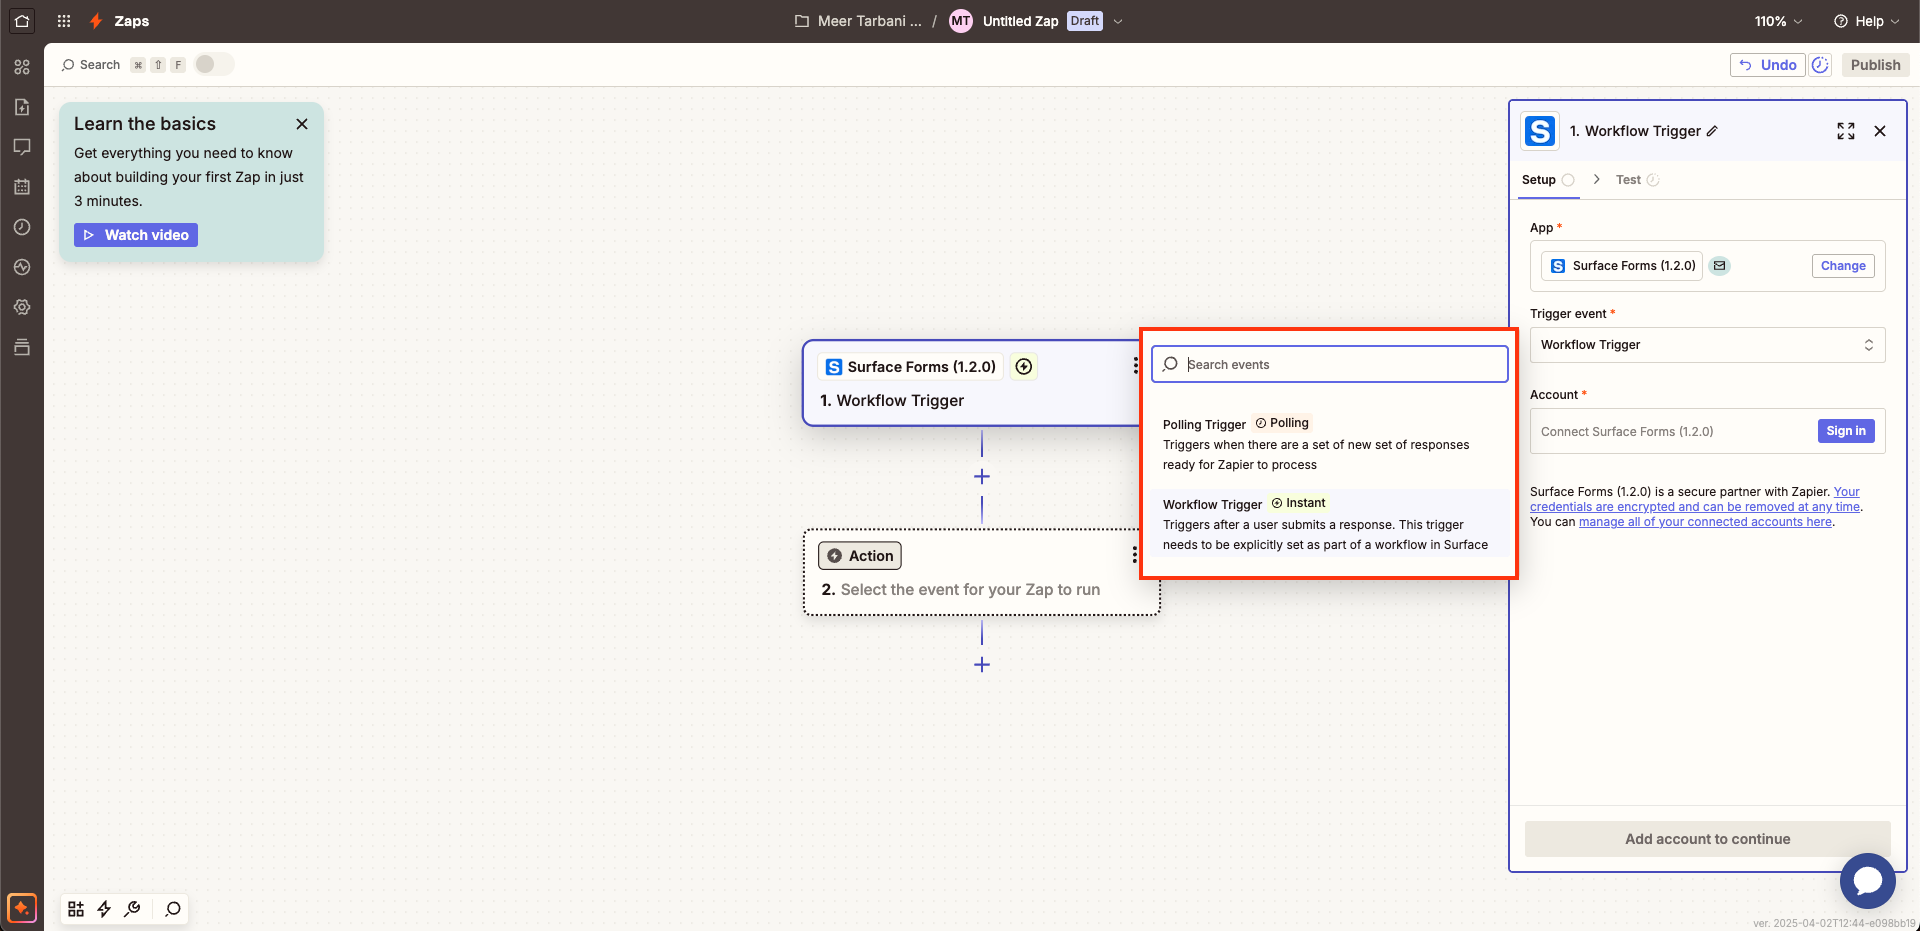
 Choose a trigger event for the Zap.
 ### 3. Connect a Surface Account [#3-connect-a-surface-account]
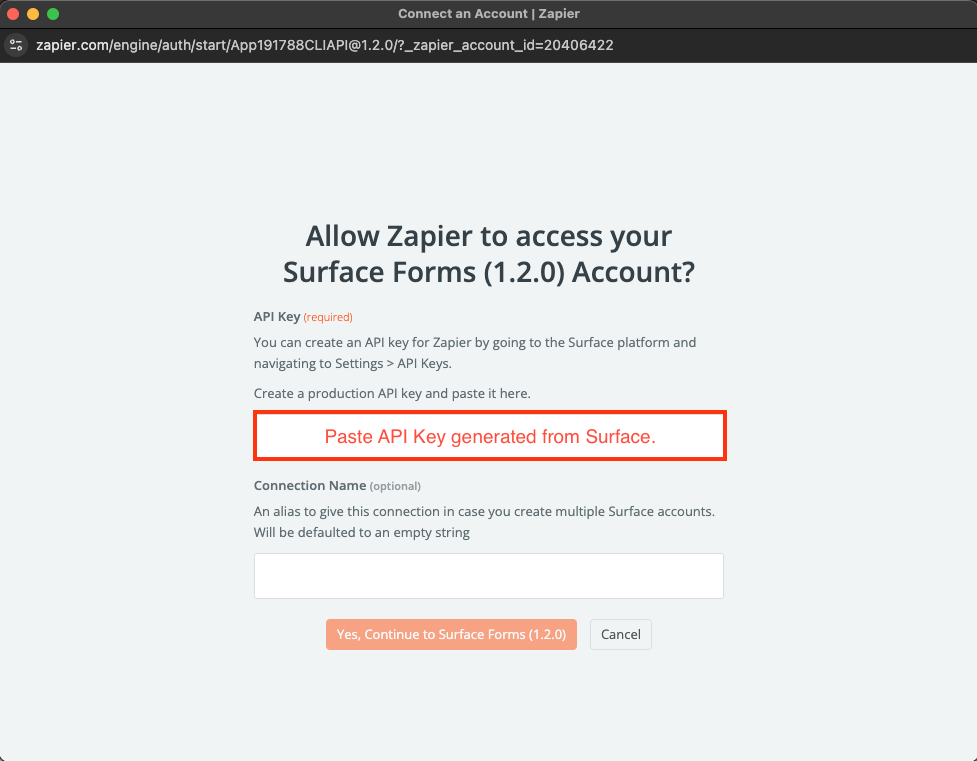
Under **Account**, click on **Sign In** and connect your account. You should see the following screen:
### 3. Connect a Surface Account [#3-connect-a-surface-account]
Under **Account**, click on **Sign In** and connect your account. You should see the following screen:
 ### 4. Create an API Key [#4-create-an-api-key]
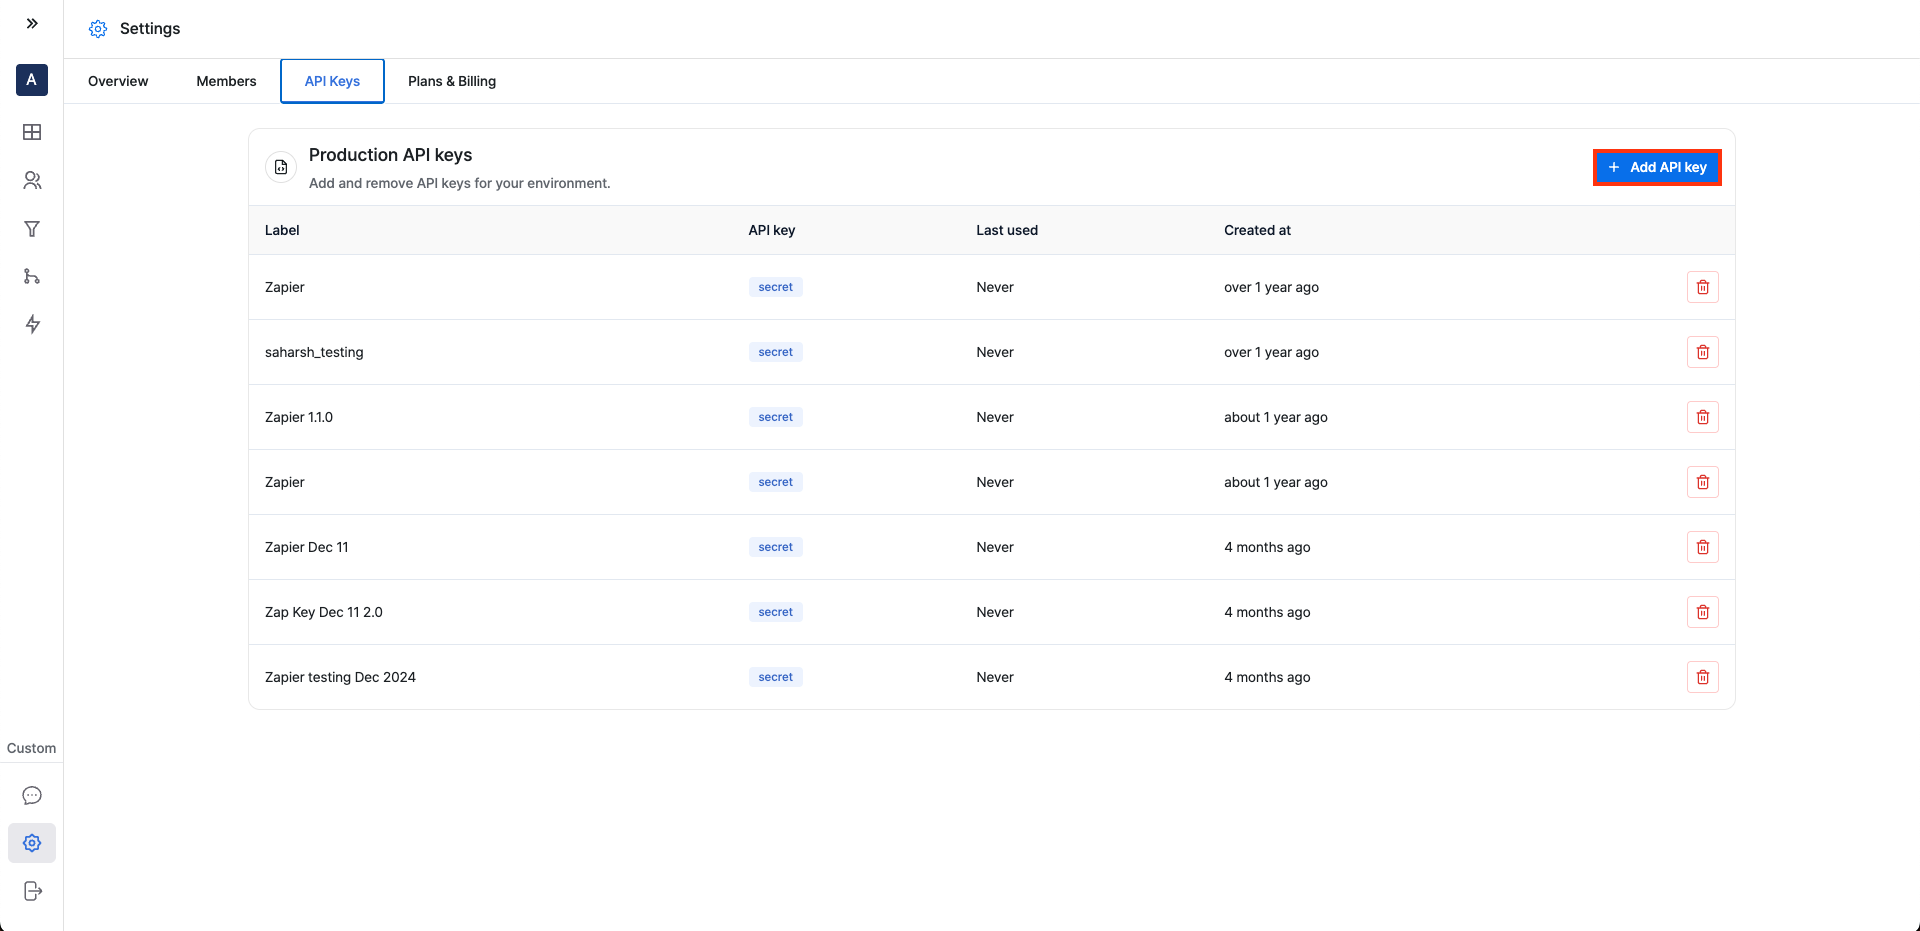
To obtain the API key, create a new production key in the Surface app.
Navigate to **Settings > API Keys > + Add API Key** in the Surface app and add a new Production Key (use any label for the API Key).
Copy the API Key and paste it into the API Key field from **Step 3**.
### 4. Create an API Key [#4-create-an-api-key]
To obtain the API key, create a new production key in the Surface app.
Navigate to **Settings > API Keys > + Add API Key** in the Surface app and add a new Production Key (use any label for the API Key).
Copy the API Key and paste it into the API Key field from **Step 3**.
 ### 5. Add the Form ID to Zapier [#5-add-the-form-id-to-zapier]
To find the Form ID, navigate to the form in the Surface app and click on the share icon (to the left of the Edit button). The value that appears after `https://forms.withsurface.com/s/...` is the Form ID.
### 5. Add the Form ID to Zapier [#5-add-the-form-id-to-zapier]
To find the Form ID, navigate to the form in the Surface app and click on the share icon (to the left of the Edit button). The value that appears after `https://forms.withsurface.com/s/...` is the Form ID.
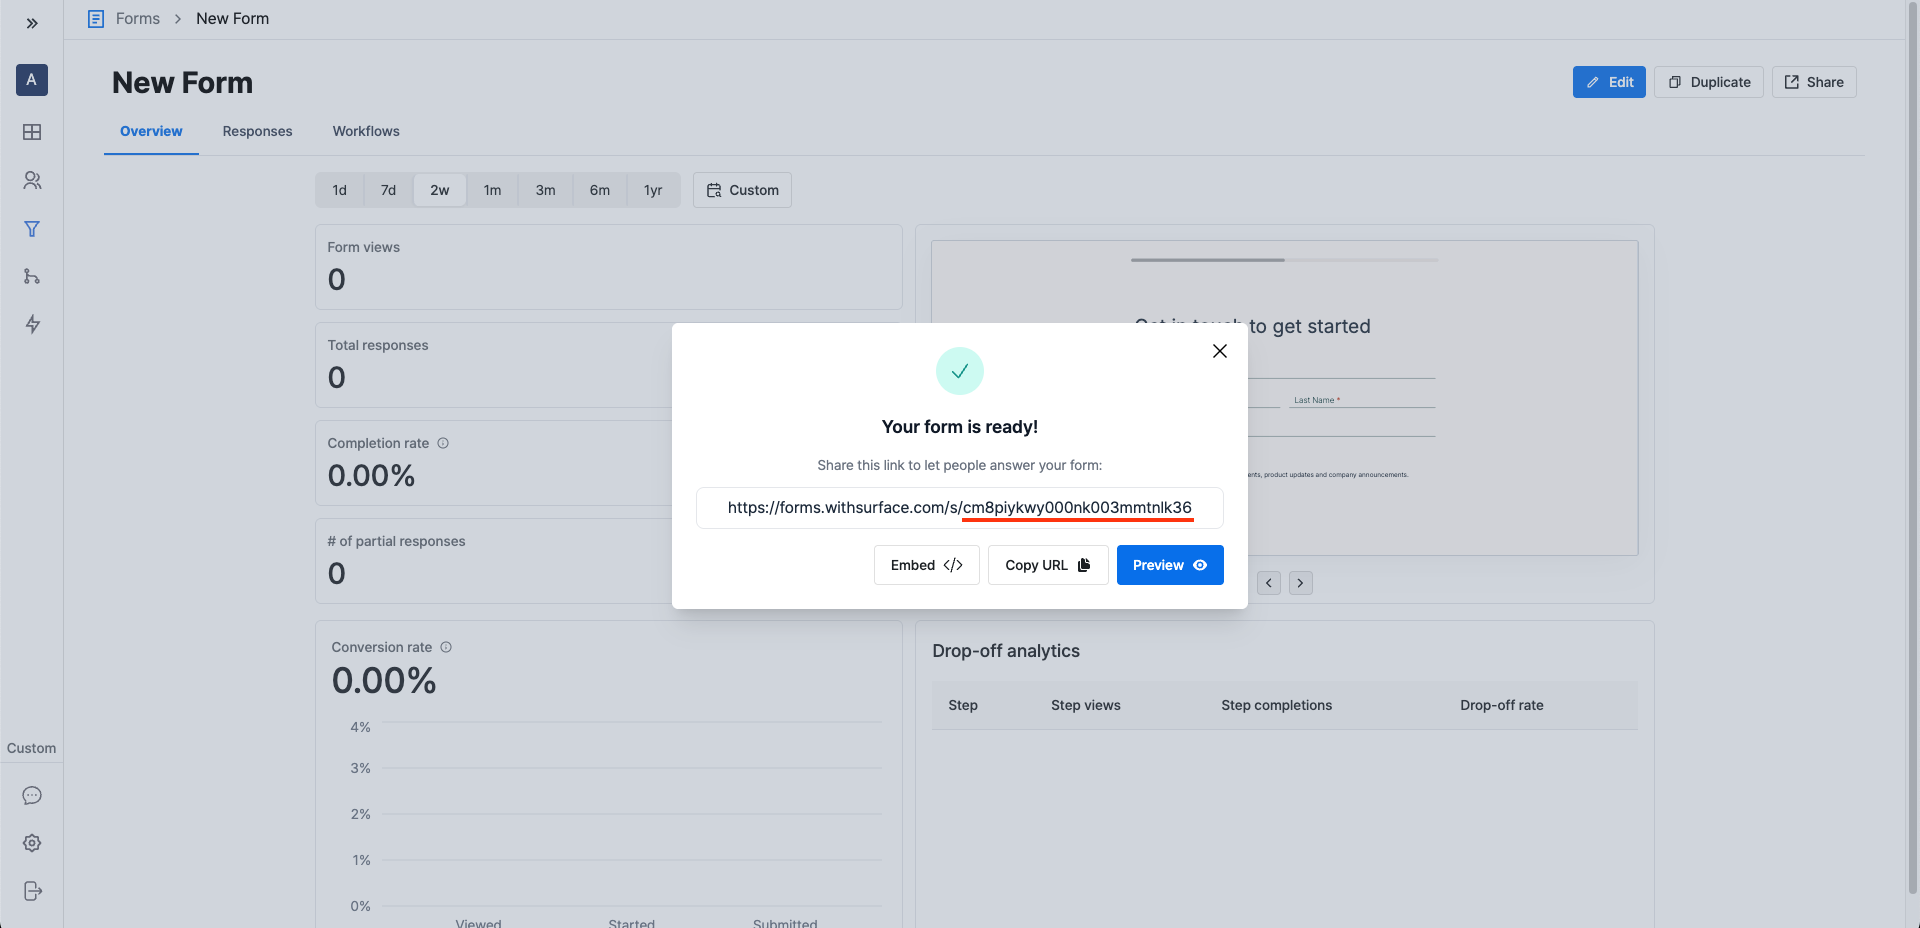 Paste this value into the Form ID field in the Zapier Trigger tab.
For "Process Partial Responses," select either `Yes` or `No` depending on whether you want to trigger the Zap on partial form responses.
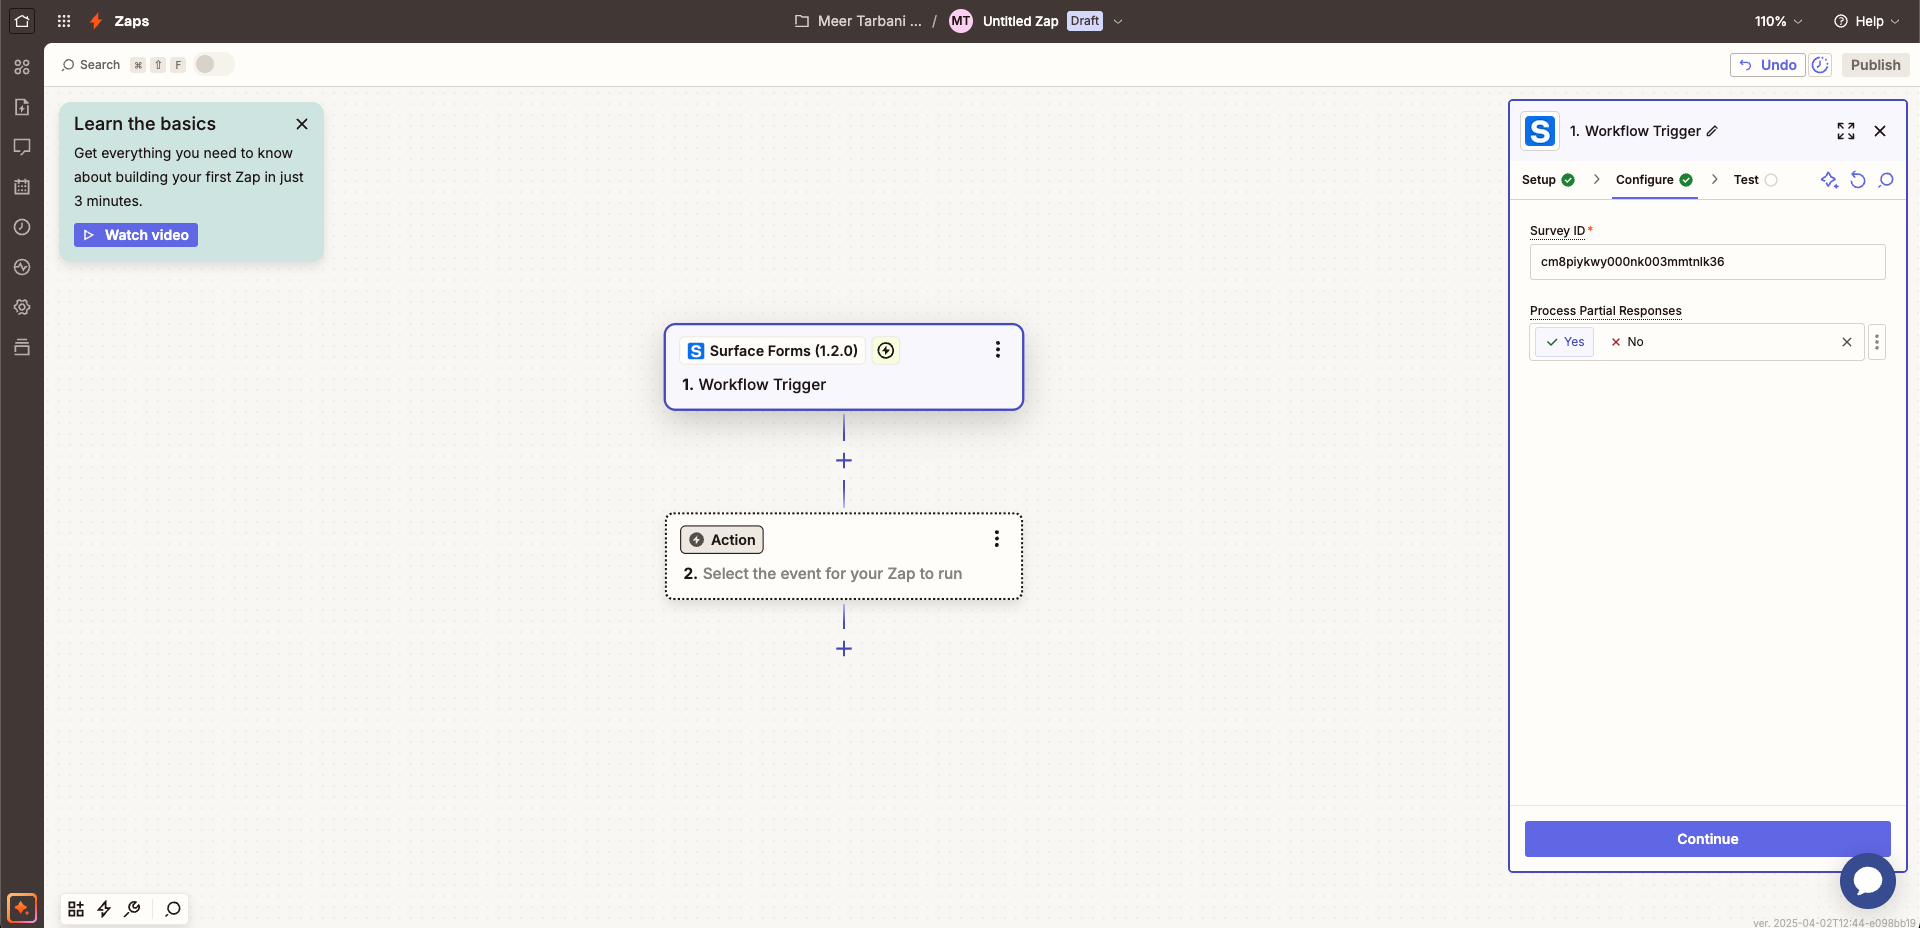
Paste this value into the Form ID field in the Zapier Trigger tab.
For "Process Partial Responses," select either `Yes` or `No` depending on whether you want to trigger the Zap on partial form responses.
 ### 6. Test the Trigger [#6-test-the-trigger]
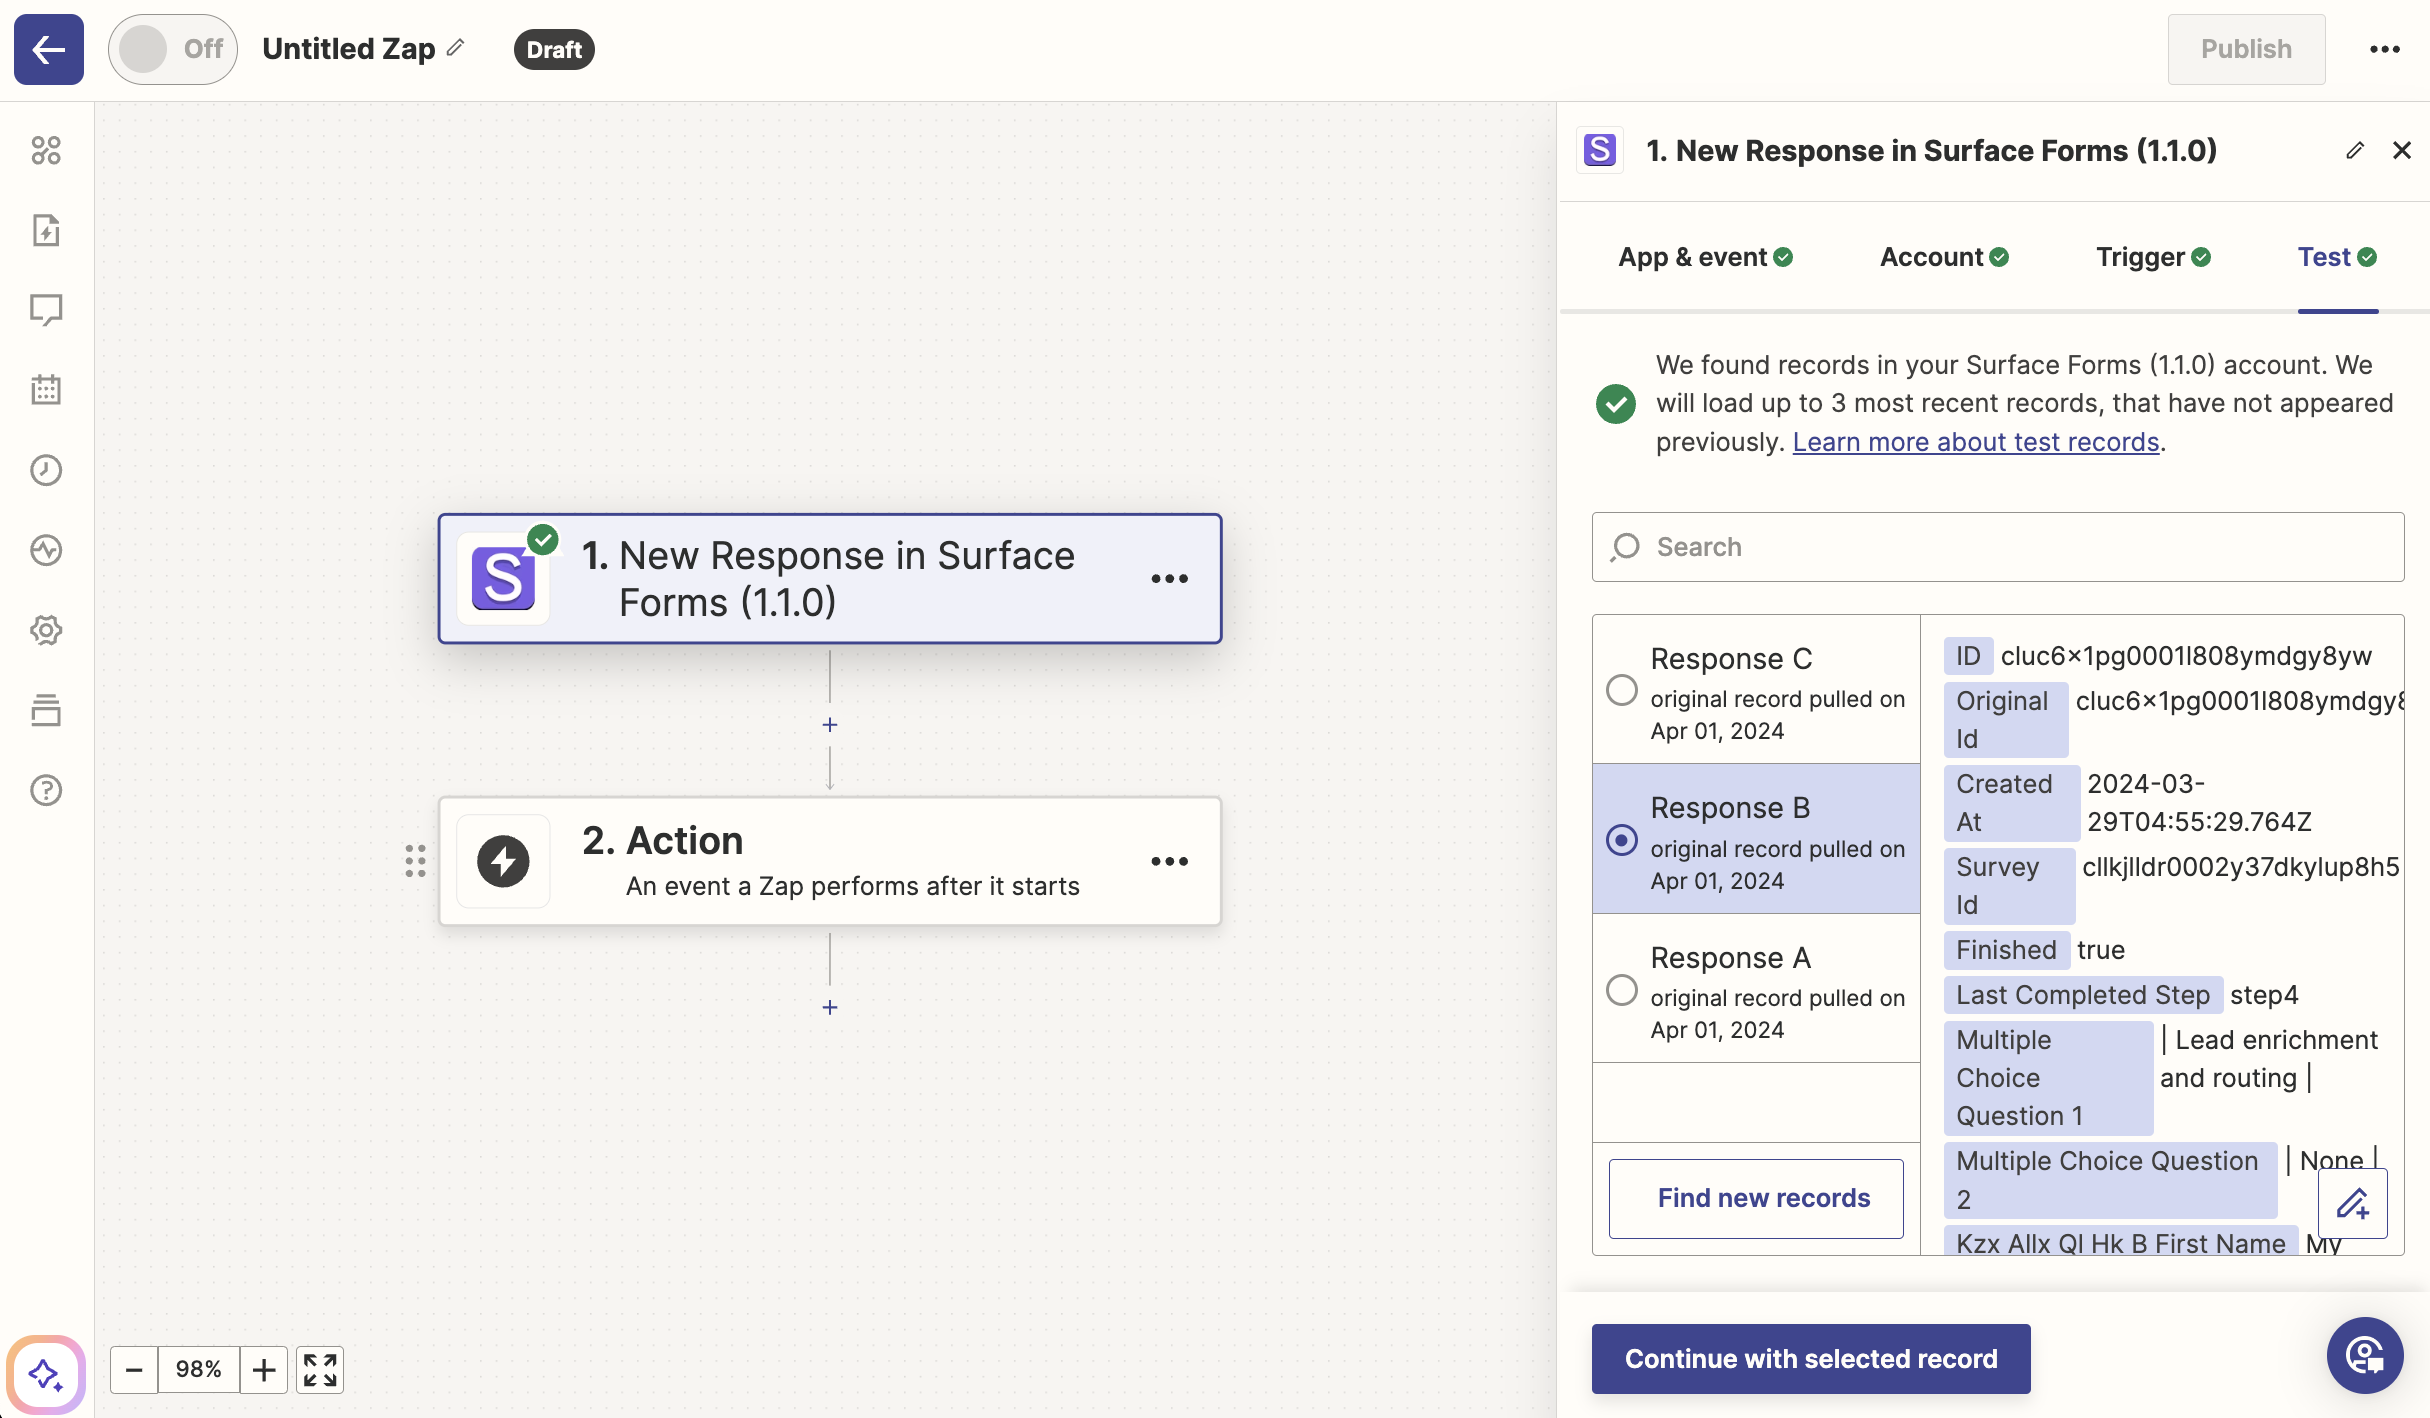
Test the trigger to ensure you can view Surface form responses.
### 6. Test the Trigger [#6-test-the-trigger]
Test the trigger to ensure you can view Surface form responses.
 ### 7. Connect an Action [#7-connect-an-action]
Finally, connect an action to complete the setup.
### 7. Connect an Action [#7-connect-an-action]
Finally, connect an action to complete the setup.